90’s Paint Splatter: Nails Update

IMAG3815-01

IMAG3820-01

boulders_jawbreakers_1

Did you notice? maybe? That the middle of the 2010’s brought out everyones inner 90s kid. Suddenly 90s throwbacks were blissful reminders of the simpler moments during our youth. People expressed their homage to that decade through their fashion and beauty choices. If this decades version of the 90’s sticks around for the remaining of the of 2010’s, only time will tell, but it’ll be a hell of an interesting sight to see how the styles evolve and grow with the different tastes. Heres my ode to 90’s trend, a jawbreaker paint splatter style nails. Using some warm water, hair spray, olive oil cooking spray, and a piece of plastic, I managed to get the style down but it took some patience.

Enjoy!

Metallic Green Liner #MOTD

IMG_9037

IMG_9108

greenliner5

greenliner3

greenliner2

IMG_9093

IMG_9095

greenliner9

greenliner12

greenliner6

greenliner1

greenliner

greenliner11

greenliner10

greenliner8

IMG_9088

Foundation:

I started with a clean face and then used the Aveeno Daily Moisturizer to give my skin some life. My favorite part of the moisturizer is the scent because its refreshing and airy yet it helps with the prevention of breakouts! Then I continued with my color correction and concealer to smooth out uneven tones. For the first time, I also played with the NYC Bronze Face Powder that my mother often uses. I was pleasantly surprised to see how much of a difference it made as a last touch to the foundation routine. It adds a bit of color to my complexion especially right after I finish applying concealer & foundation.

Lips:

Just a tab of tinted moisturizer and they were done 👍

Eyes:

The toughest part was getting the new eyelashes to get the shape of my eyes. Whenever you get a pair of faux lashes, the first thing before you wear them out is to break them in.. literally. It also helps to have a strong lash adhesive. Sadly, the one I’m currently using, the Revlon Precision Adhesive, works to a certain extent. I tend to apply the adhesive and then leave it for a few seconds to dry a little so it’ll become a bit sticky but what kept on happening was that the adhesive would dry almost immediately on the corners. When that’ll happen , it would take an extra 15 minutes longer just to make sure that the corners stayed put. So I’ll definitely be in the market for a new adhesive soon!

For the eyeshadows, I kept it very stubble & nude using the different shades shown in the Cast A Spell Beauty Book. For the next look, I’d probably add more eye shadow so it’ll be more noticeable.

The light green was the main touch. The light green liners from Milani Cosmetics and although it was a bit dry as I was reused it, the metallic color was still vibrant! I didnt have the heart to just throw it away cause I’d rather have it and not need it, then need it and not have it.

Anyways, I sincerely hope you enjoyed this look. Leave a comment to let me know how you would have used the green eyeliner differently and have a blessed day!

#MOTD w. Falsies

selfie 3

IMAG3472 copy

Wet n Wild Eyelashes 

selfie 2

wet n wild

Wet n Wild: Coverall Palette: I’ve been using the color correcting palette religiously, the colors even out my complexion and undertones, which is awesome. The only drawback is the white, which is meant for highlighting, its too shimmer… I like shimmer, but I was just expecting it to be matte.

eyebrow pencil (1)

selfie 4

foundation

selfie 1

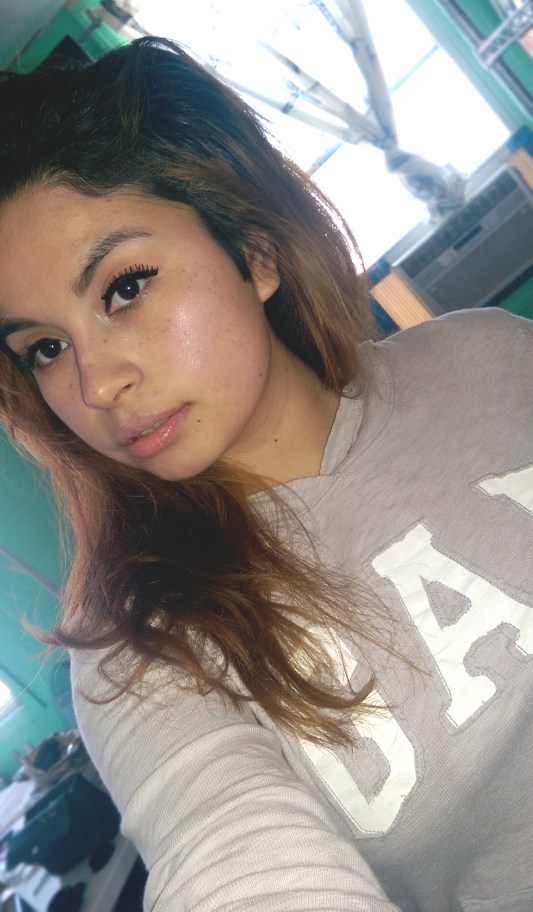
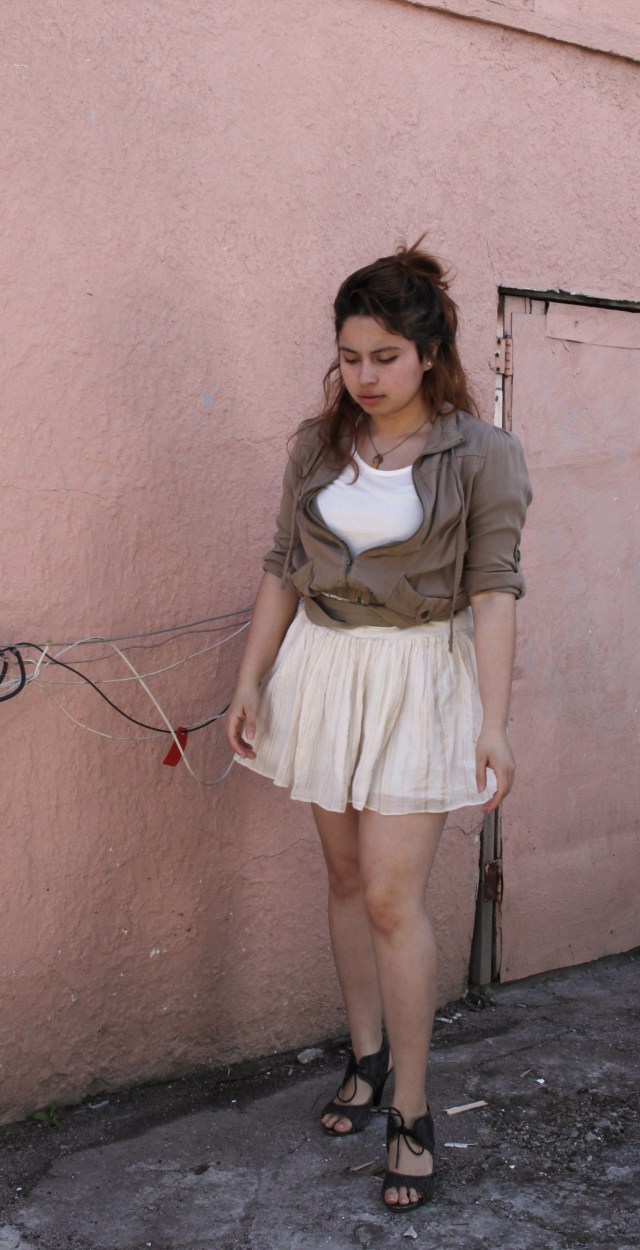
The overall #Makeup Look!

Overall Review:

Lately I’ve been experimenting with false eyelashes & I recently bought these from Wet n Wild because I wanted some that looked fuller and longer… but be careful what you wish for. They looked great but they were a headache to put them on cause of how stiff they were and partly because I hadn’t handled wider & fuller lashes.

Color Correcting:

I started out with a clean face and after I applied sun screen and face moisturizer, I let it dry for a few seconds then started applying the color correcting. I’ve been getting in the habit of always using color correcting first because it evens out all the tones of my face. Especially my under circles, no matter how much sleep I get, they stay hallow.

Foundation:

Once I finished correcting, I began with concealer and then moved to apply foundation. The foundations I’ve been using, I got from as a gift through an internship with a beauty editor I did last fall. She had gone to a beauty convention in NYC and then brought back to me a bag full of makeup supplies and this foundation happen to fit my skin tone perfectly.
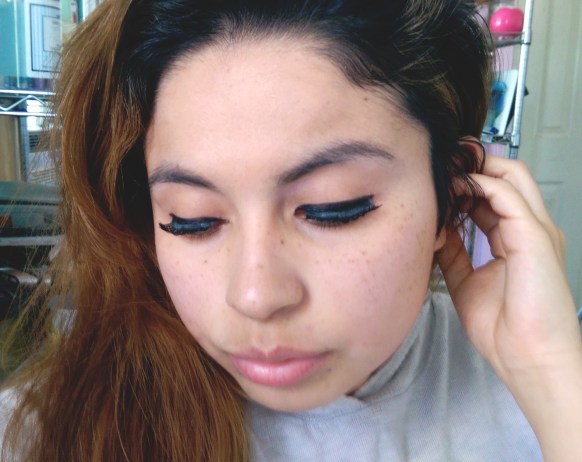
Eyelashes:

I then began to place the eyelashes on (which took longer then expected). The main culprit was my eyelash adhesive, from L’OREAL, I would let it dry for a few seconds so it’ll be a little stick and easier to apply. But the adhesive kept on drying out to quickly on the edges so it wouldn’t stay down on my corners..

It was a fun look to experiment with, once it was all done, the finished look was really nice to see and to start the day with. Enjoy!

Yellow Tips: Nails Update

image

image

image

image

I’ve always enjoy being experimental with my nails. This time around I made my nails with a diagonal style & because it’s the spring, a highlighter type yellow was the obvious choice.

The first step was to file my nails so they were even & fuller with pushed back cuticles.

Then I painted a top coat of a nude color.

After I let that dry, I placed tape across my nails diagonally on all of them.

Then I painted a few coats on each nail of the yellow. This part took the longest cause of the tape on each finger and it also took the longest to dry.

I had to be really careful and lastly, I painted a clear coat of nail hardener to protect them.

Done!

Its exciting to see my nails from time to time and feel proud of them. For example, if I had noticed the design on another girl, I’d let her know how dope they look!

Anyways, enjoy 🍸💛

Color Blocking: Nails Update

image

image

For the second week of April 2016, I’m rocking an awesome color blocking technique that took forever to perfect! It took so long because of the light and dark contrasting colors. There needed to be a careful consideration of the colors not blending into each other.The name of the polishes are called sea mineral blue but Bonita nail polish and Revlon charcoal black.

Metallic Streak

glitz 6

glitz 8

glitz 7

glitz 3

glitz 4

glitz 10

glitz 9

glitz 13

glitz 5

glitz 14

glitz 2

glitz 12

glitz 15

glitz 11

One of the most irritating feelings is when you bring something home that you absolutely loved in the store, just to see that nothing in  your collection of clothes compliments it well. Its out of left field for the what you’ve been harboring in the closet and theres so little time to be sourcing the stores or thrifts shops to find specific items. I’ve had this battle with this particular skirt and for some time. I loved the linen material with vertical gold/ orange metallic strips and the coarse like shape that it created once I put it on. There were many time that I had given up on this skirt. I’ve had it collecting dust, tried giving it away to family members, and I even thought of donating it. But somehow it would resurface or manage to get back to me, like some sort of lost child, reminding me like “hey, I’m cute, I’m here, LOVE ME! you got me for a reason…”

Well, it finally happened, the nourishment come like water to a drying flower. The beautiful thing is, it kind of happened by accident. I was observing the pretty detailed packaging design that the Versace perfume came in, which smells like a sweet vanilla scent, that I received for my birthday. After a while, I became a bit inspired by it. The metallic strips of the skirt expressed the metallic design, while wrapping my belt expressed the icon Versace medusa symbol.

Shirt & Sweater & Accessories: Forever 21
Skirt: H&M
Heels: ALDO
Belt: Unknown

Easy Contrasting Nail Pop Art

nail pst 3

Nail Post

Nail Post 2

Simple to design & easy to create on your own. With just a little bit of patience, it can make all the difference.

For each nail, the black dot was placed sporadically. Not one follows the exact placement to make them exciting to look at. I wanted to have fun on some of the nails on the right hand so I dragged a very sharp brush through the dot to create a distorted effect for a touch of creativity.