Green or Emerald

Finally, little by little, I think I’m getting back to my creative self again. It’s difficult to manage creative thinking with the more logical and reasoning side. For some time now, I feel like I’ve lost that creative thinking side of me. My most recent college semester was really demanding and for the first time in my academic career, I didn’t take some sort of art or self expression coarse. Here’s what I mean, since high school I’ve had some sort of art class that forced me to constantly create something and therefore, I’ve consistently forced myself to think creatively. Reflecting back, it feels like a blessing and curse.

Its a blessing because I got a chance to change my routine, to try a different side of myself that I didn’t understand very much. But within my new degree, most of my classes consist of business courses. I’ve come to realize and compare how much more differently it forces you to think, yet creative courses can take you around the universe and back. Literally the sky’s the limit on your imagination. But taking mostly business coarse’s is a curse because its like building a new muscle, building a new set of skills is tough the first go-around. Luckily the more frequently I use it, the more it becomes second nature and then it starts to feel like it is on autopilot. The only thing is, I’m not bombarded with the types of scenario’s studied in class to consistently practice what I’ve been learning. A skill truly develops once its practiced frequently, but how do I get there without being forced to utilize it?

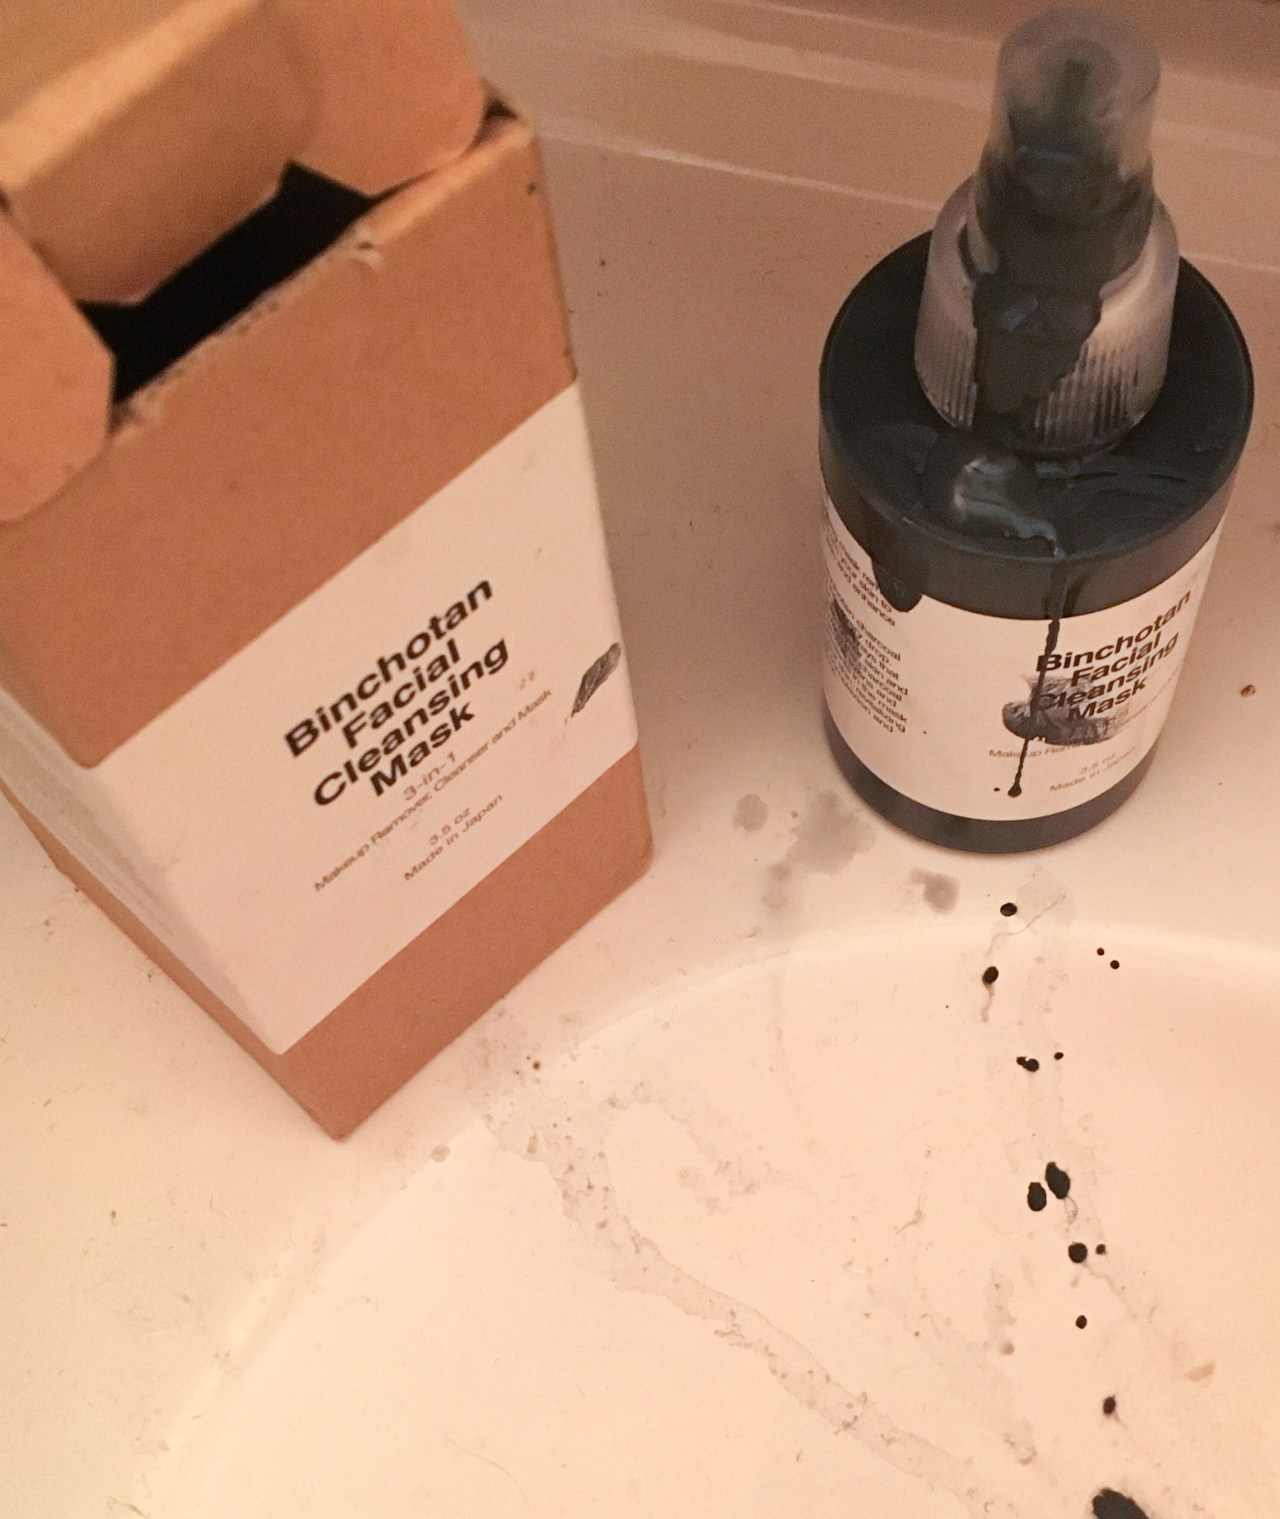
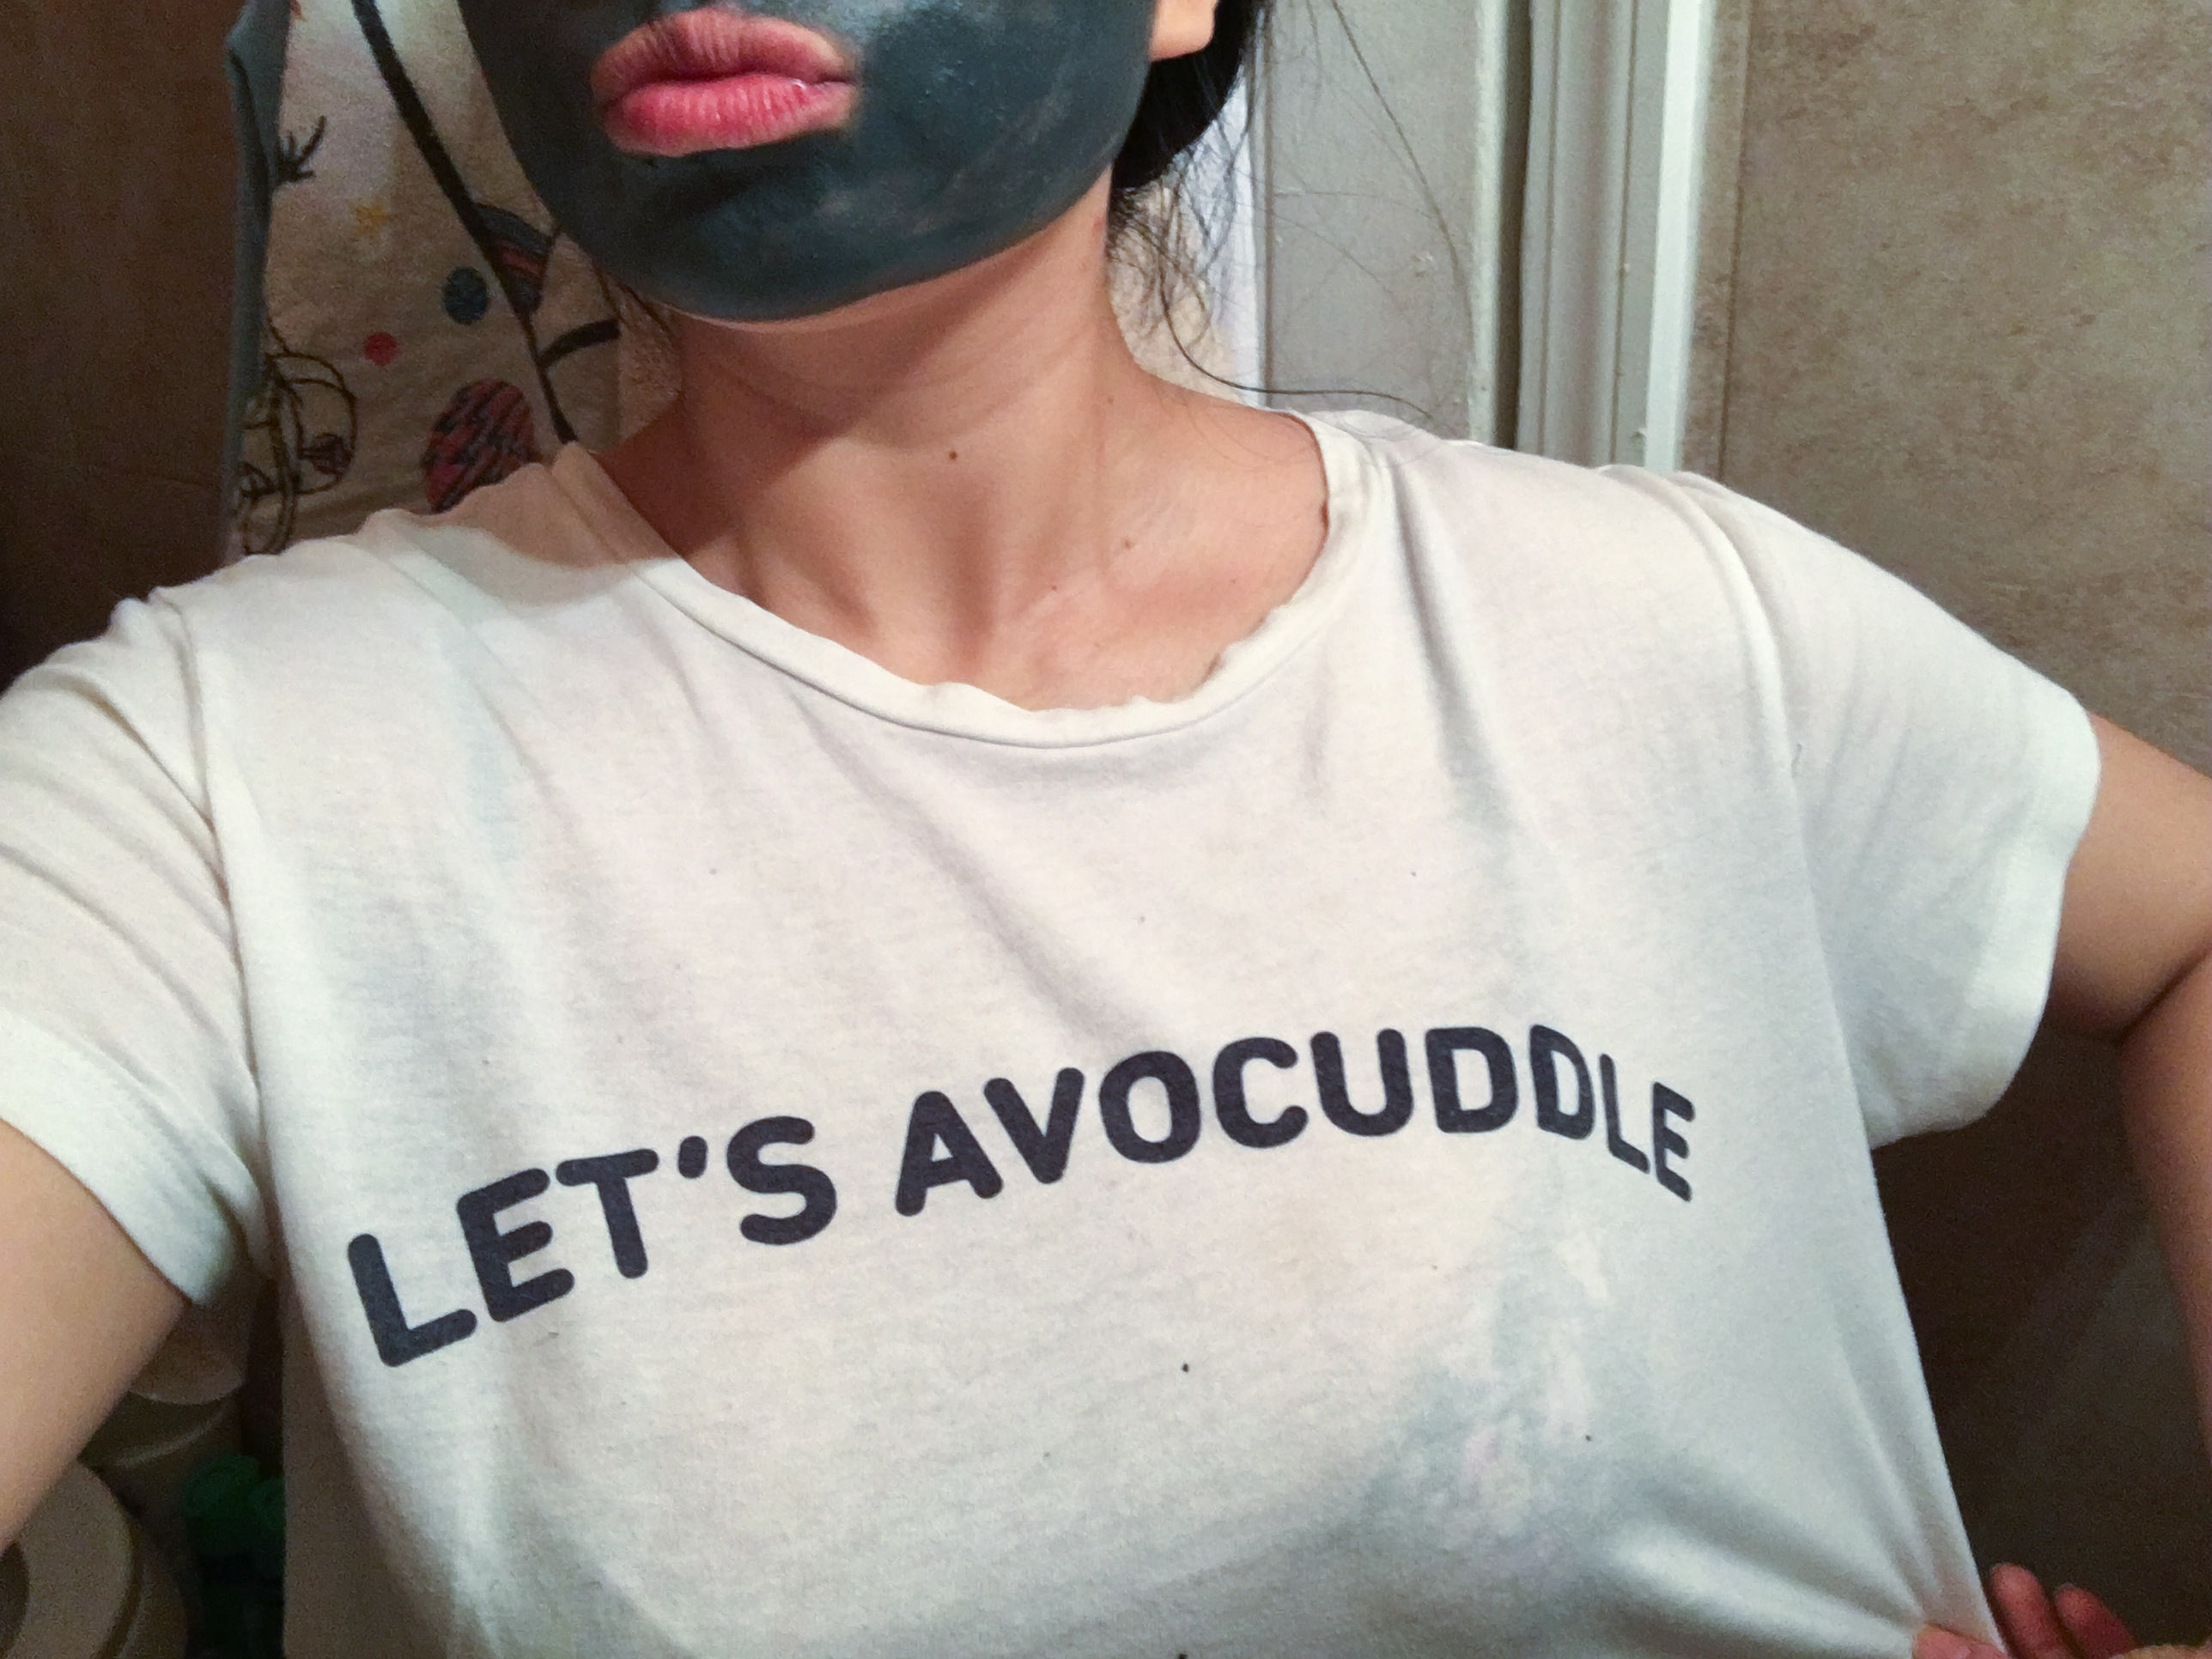
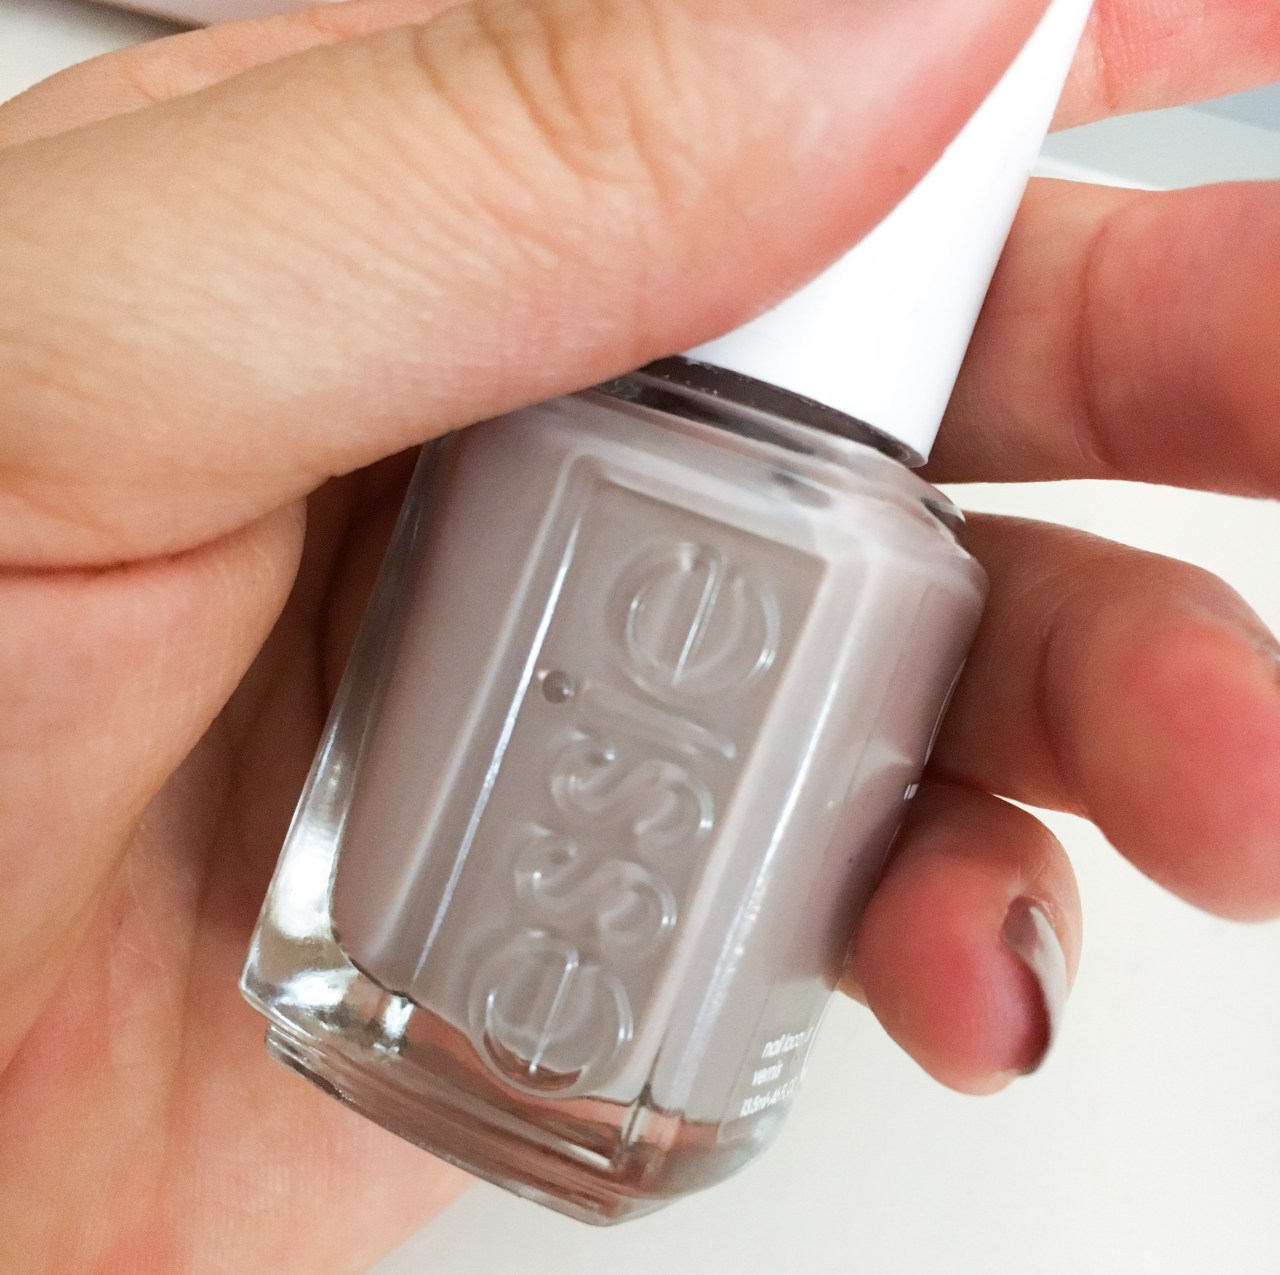
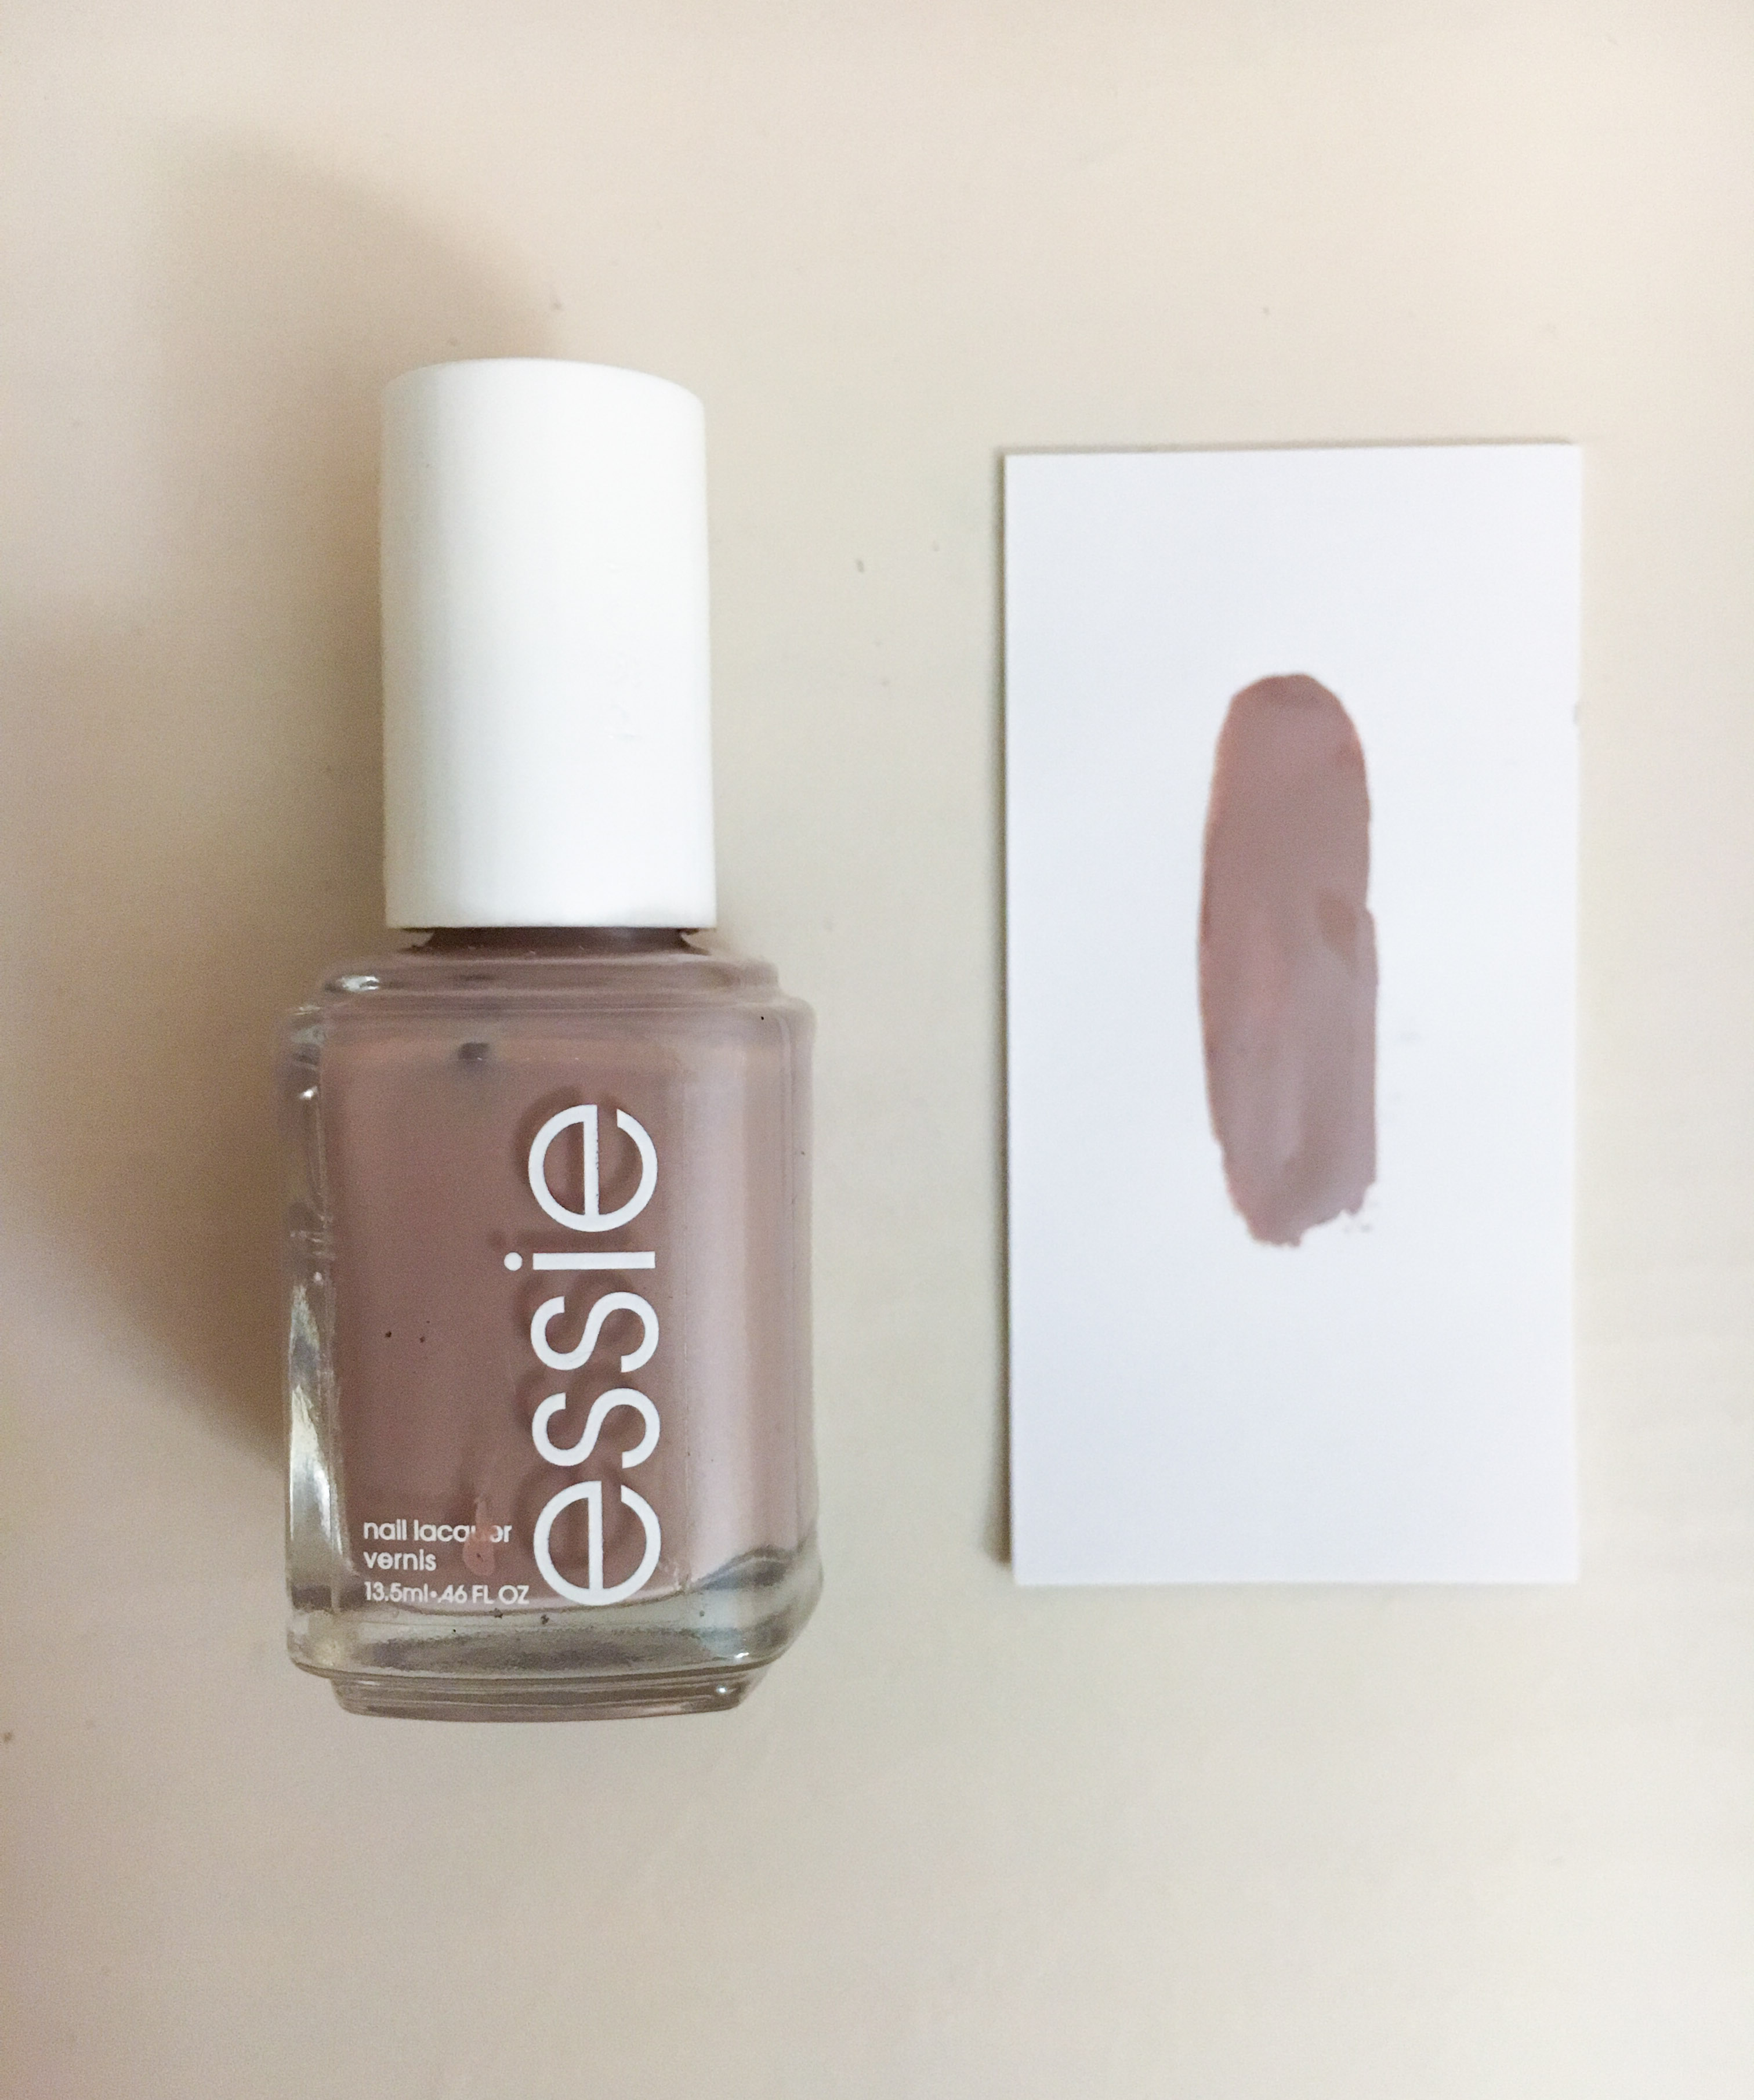
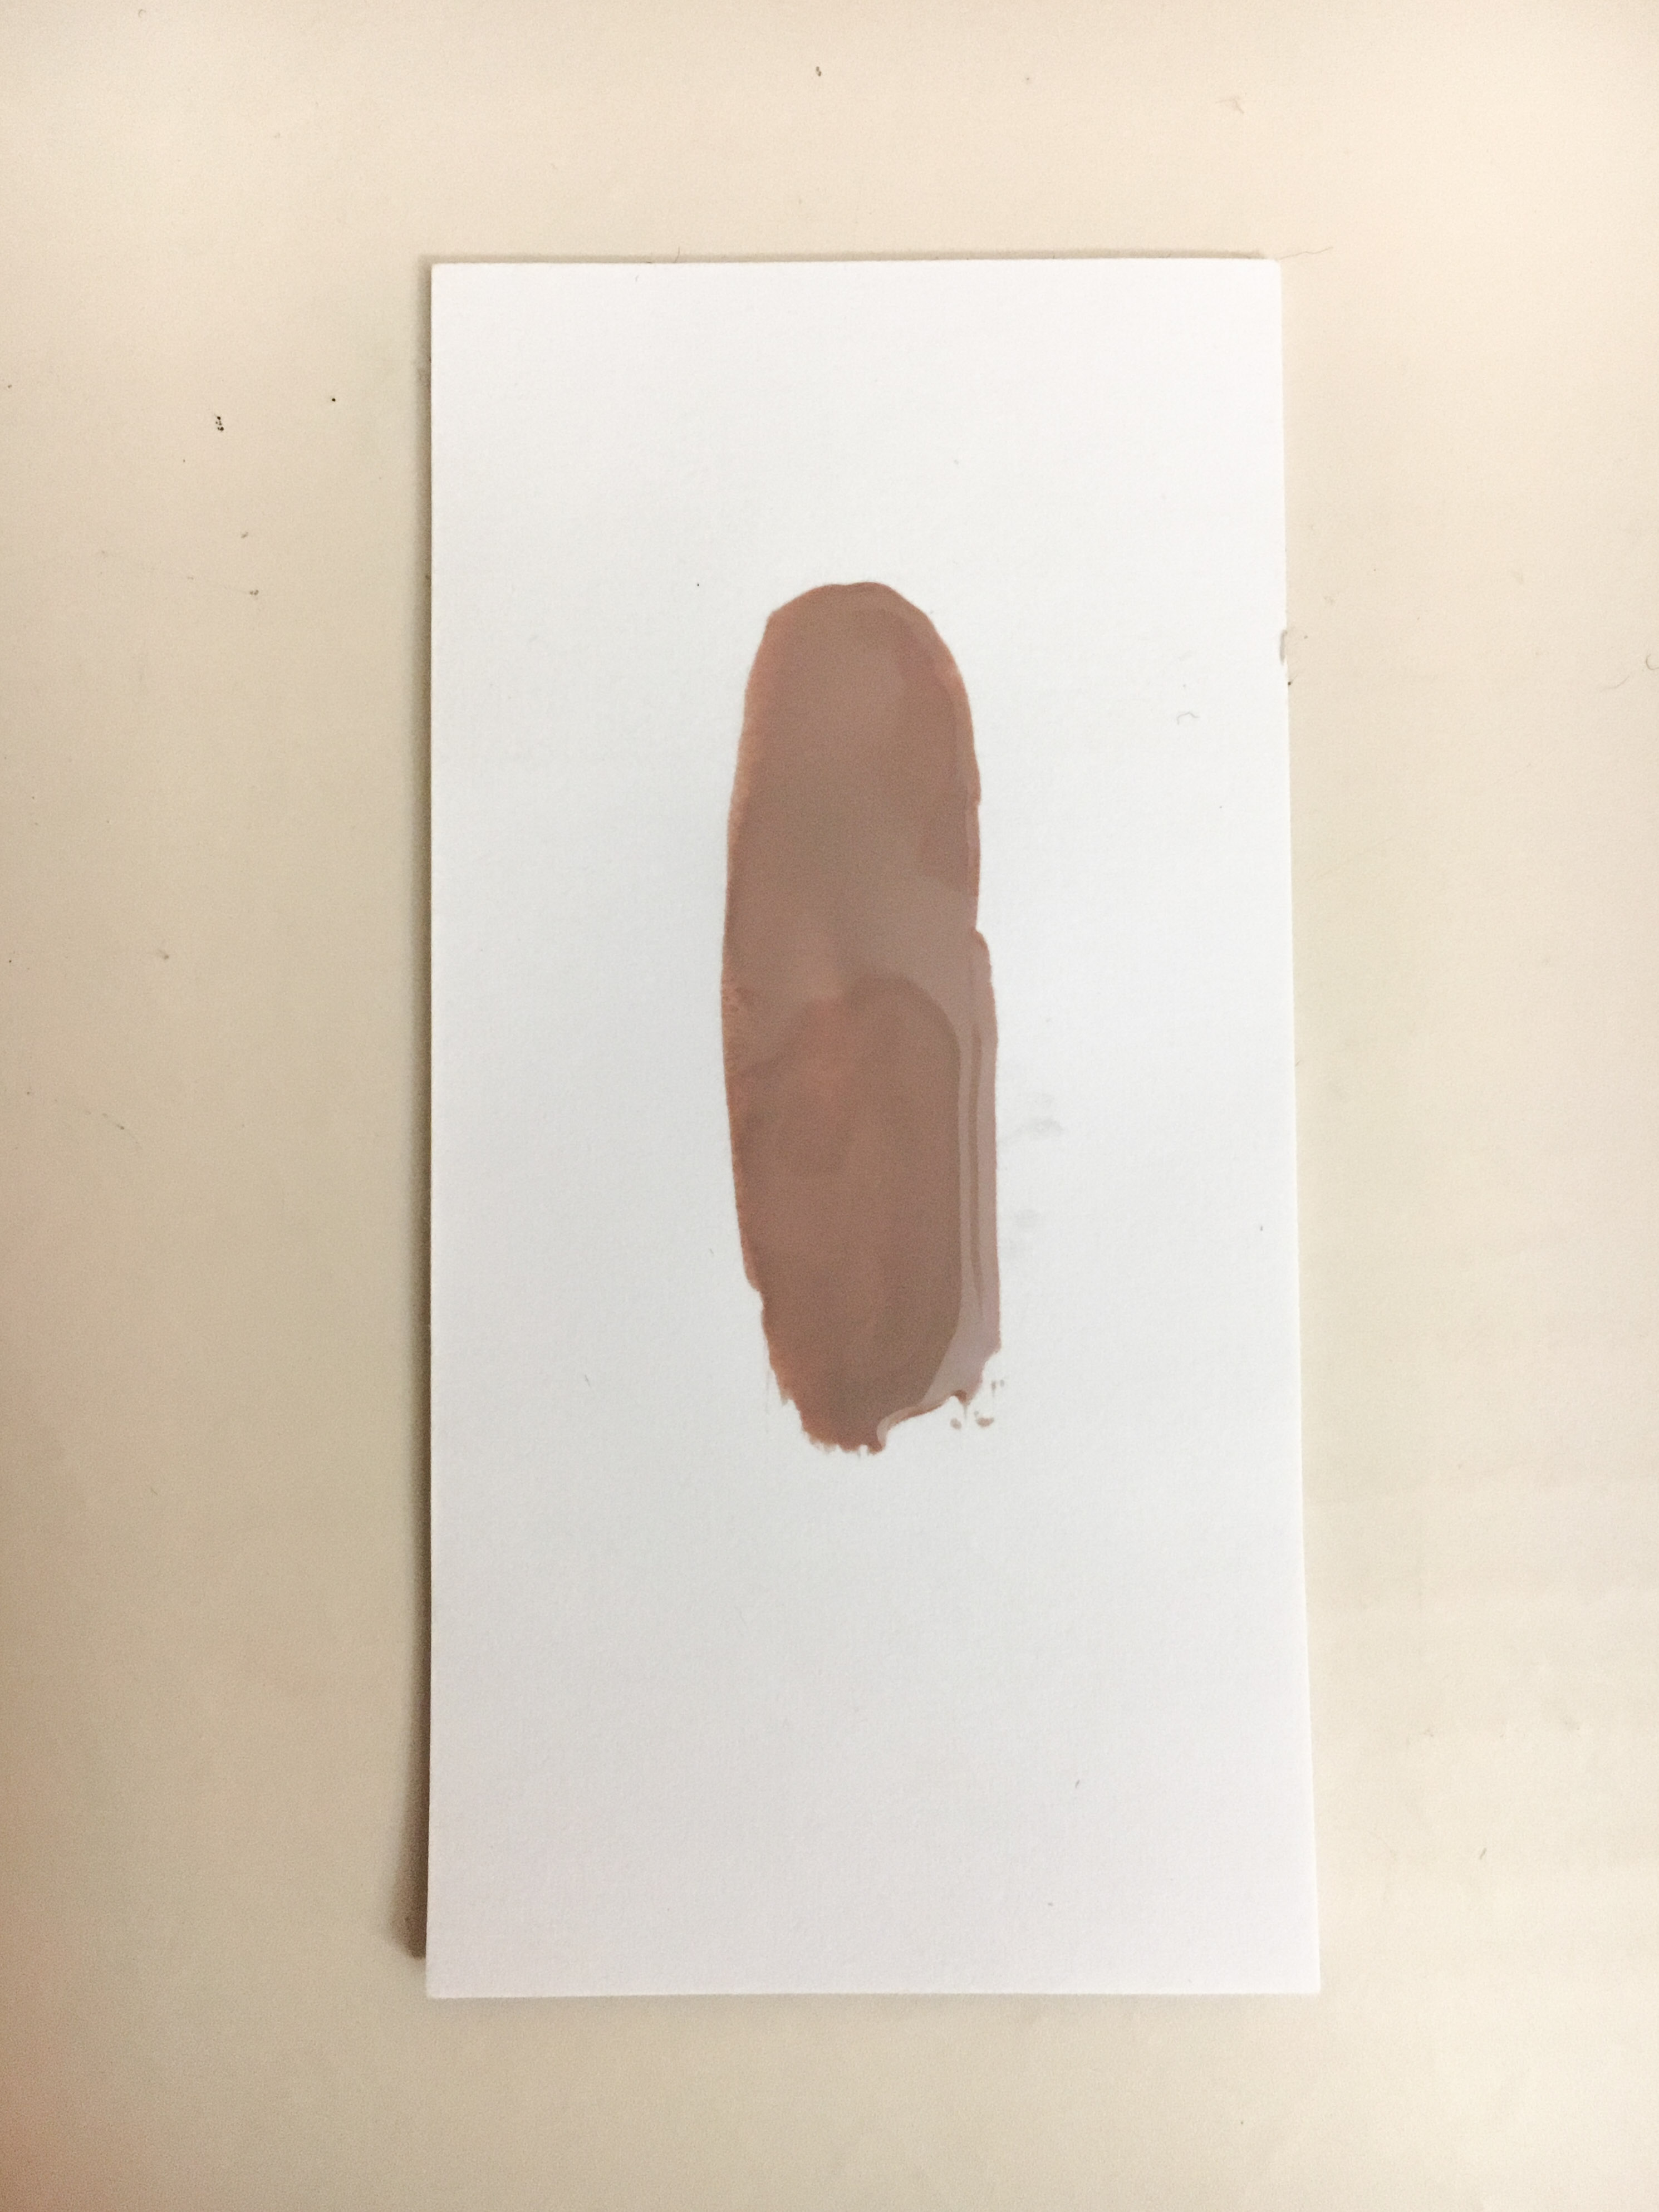
Here’s a picture of my new nail polish, my logical side would call this green and if I’m being political, then I would say dark green. But I can also call this color emerald. Emerald, a quick google search describes it as the color that encourages growth, reflection, peace and balance. Apparently, the verdant tones reflected in the jewel are tempered by a cool blue that symbolizes a steadfast bond. Isn’t that description beautiful and coincidently describes this post perfectly.

The Pink Lip

Today, I promised myself to try something different and to get out of my comfort zone. Lately, I’ve been going back to the same makeup look. Each time swearing that this time, I might look just a bit different, then the look from the day before. My current everyday makeup look has me feeling uninspired and slightly bored.

Seeing that I already own a few lipstick shades, but never use, I thought that I should give a bold reddish lip a try. I have the shades, along with the fear of testing it out and going outside with it on… does that make me sound a bit silly?… Probably…

After applying the matte red lip shade, my immediate reaction was to take it off. But then I stopped myself for the sake of not wasting time putting. I kept everything else light. My eye makeup minimal, enough concealer to cancel my trouble spots and focused more on contouring along the sides of my cheekbones and forehead. Lips were my focal point and I was nervous as I spread it along my lips.

My fear of testing red lipstick came from believing that I looked weird with it on. I had this internal worry of judgement. When I asked myself if someone had actually told me that red lipstick didn’t suit me, then is when I realized that I was being my own self critique and being a harsh one too! But once I really let go of these insecurities, I asked myself what am I really afraid of? So what was the worry?

Once I really embraced this bold lip look, I felt focused and oddly, empowered. In retrospective, putting on lipstick and wearing was not weird, but rather the boost of confidence I felt, seemingly out of the blue was. It’s funny how that works.

Thank you for reading my blog post! I’m curious to know if you have had a similar experience with makeup? If so, what inspired you to give it a try regardless of these insecurities?

Like always, have a great day!

Darphin Revitalizing Oil x Honest Review

The dreaded day finally came when my new favorite Darphin Revitalizing Oil for Face, Hair and Body officially ran out…. #boohoo

I’ve been using the Darphin Revitalizing Oil throughout the year, more so during the fall and winter season because thats when my skin is prone to get extremely dry rather than the summer. I would wear this alone, as a replacement for a face moisturizer in the mornings since the texture of the oil wasn’t so thick and sticky.

The bottle is so cute because it is a small bottle with a gold-ish color tone which made my bathroom shelves look so luxurious and majestic as I lined it up with my other cute fragrance bottles. But the bottle alone wasn’t what attracted me, the oil itself felt lavish on the surface of skin as I would apply it after my morning routine, during the evening and on those occasions where I slept until the afternoon. It added a little bit of a shinny glow dew on the high points of my cheeks but not in a sweaty, out of the gym, kind of way. It smelled amazingly good, not fruity but neither did it have a powerful obnoxious fragrance scent and that made it much more pleasant to apply it frequently. It didn’t absorb into my skin too quickly which I’m not complaining about because from time to time when I would catch my reflection in the mirror, I noticed that beautiful highlight as the daylight caught the oil. I honestly could go on forever talking about the Darphin Revitalizing oil because it really made me feel guilt free about spoiling myself by taking extra care of my skin in one of the best ways available!

Since it is labeled as a multipurpose oil, when I looked up some of the benefits of this particular one, one recommendation was to apply it “generously” across stretch marks. Instantly, I became excited for the healing possibilities and all the ways the oil could aid in fading my tiger stripes. But once I gave it a go, quickly I realized that it wouldn’t be sustainable because the bottle only holds 50ml and it won’t be enough to cover a large area covered with stretch marks. Even if I did try, I’d probably run out before I started to notice any improvements. I would gladly go around smelling like the oil’s rich and beautiful aroma but for the price of 80$ for only 1.7 fluid ounces (50mL), its definitely a little luxury and splurge. The oils main purpose is to protect the skin against future moisture loss while leaving the skin silky and nourished. It also helps to prevent hair breakage and restoring brilliance by adding a luxurious healthy shine if its applied to the hair.


Thanks for checking out my post and please let me know if you’ve personally tried this product before. Until next time!

Maybelline Browprecise Mirco Pencil Deep Brown x Product Review

Lately, I feel like my eyebrows have been disappearing. Like… Where are they going? Who do they think they are and why am I not invited? lmfao

Anyways, all jokes aside (as if those two sentences even qualified as jokes) my eyebrow game has been a struggle ever since my Anastasia Beverly Hills Brow Wiz retractable pencil ran out. I’ve been wanting to purchase a new one but being that I’m on a tight budget, splurging on a 21$ item is out of the picture… for now.

When I saw a Maybelline commercial (who says that anymore?) about the ‘new’ Maybelline Browprecise Mirco Pencil, I was curious to try it. Influenced enough to get up and get out of my apartment with my baby girl in tow, to my local Walgreens. Then there it was, hidden under a bunch of other similar looking Maybelline products packaged practically exactly the same from one another and I was completely… unimpressed.

The packaging was confusing because at first glance amongst the layers of cosmetic shelves in the drugstore, one would assume it was a simple brown eyeliner pencil. It really didn’t stand out very much from the other assortment of Maybelline products and sadly, I didn’t find another color other than Deep Brown or Brun Fonce (if you want to get fancy lol). The Browprecise Mirco Pencil is offered in other shades like Blonde, Soft Brown, and Auburn to compliment other complexions for 7.99$ but I was not finding it in my store. At the end of the day, what was leftover of the packaging and labels were thrown into the trash.

The pencil is a retractable, which is such a life and money saver because no one has time to sharpen makeup pencils these days after they become dull. Then if you apply even the slightest pressure, the tip might just go falling off because of the waxiness. The pencil tip features a 1.5mm micro ultra point that made it easy to create hair like strokes for natural looking brows! The formula didn’t feel too waxy because when I tried rubbing off a mistake with my finger, it took a few rubs to get it completely off. With a heavy hand, it can easily start looking more like a sharpie than a lovely brow pencil.

As soon as I finished applying light strokes through my eyebrows, I immediately noticed a difference in the fullness of my brows. This one step that was greatly missing before (referencing the picture below) really completed my overall makeup look of the day. I know, I sound like such a newbie, but for years I really didn’t know better. Although I heard it, I never applied it in real life during my makeup routines as often as I probably should have. What can I say, I’ve become a “woke” millennial lmfao.

I really loved using the new Maybelline Browprecise Mirco Pencil because it reminded me so much of the high end Anastasia Beverly Hills Brow Wiz retractable pencil but for much less! If your ever curious to try out something new or different, perhaps a natural brow for a casual day out or to do some grocery shopping, the Browprecise Micro Pencil might finish the job perfectly without spending precious minutes in front of your mirror.

brow

brow-3

brow-4

my face after realizing I have ghostly brows! lol

brow-6 copy

brow-2


Thank you so much for reading my post! Please let me know what your opinions are of the product in the comments below or if you have a personal go to favorite brow pencil! Until next time ❤️

Morihata Binchotan Charcoal Facial Cleansing Mask x Skincare Product Review

If I’m being completely honest with you…

I’m a complete sucker for skincare: I L O V E IT | N E E D IT | I W A N T .. everything that’ll help my skin stay healthy and fresh! 

I’m very careful with the amount of makeup I put on my face because I’m deathly afraid of damaging my skin. Since I’m still getting the hang of what products look good and work with my skin type compared to others, I’ve been very selective on what I purchase. I don’t know if its only me that feels this way but sometimes wearing too much makeup changes the biology of the surface of my skin. Then I feel like I need to try on other products to restore what was then lost… is it just me that feels this way? what do you think?

Recently (but not so recently) I rediscovered the Morihata Binchotan Activated Charcoal Cleansing Mask because it was stored away somewhere in my bathroom. I started to wonder where had I purchased this item from cause I don’t recall buying it. Neither do I want you to believe that this post is sponsored or an ad, nope, just a simple central American Latina Spanish mami blogger living in the big city who wants to share her opinions on this cleansing mask… so here we go!

As I squeezed some product onto my fingers, I was surprised to feel how watery and light-weight the texture felt between my fingers. The texture was not like my Soap & Glory Vitamin C Facial Wash which is thick and sticky. The charcoal cleansing mask has no fragrance or odd odor, no hints of natural or herbal ascents, which is great because sometimes fragrances in skincare can get very irritating to sniff. As I applied it throughout my face, it applied unevenly because of the watery texture. I kept on pumping more and more of the product out to get an evenly distributed layer to cover my entire face. It did get a little messy, which goes to show you how watery the product truly is and let me just warn you that it will definitely stain light colored sinks if it is not rinsed away.

As I was waiting the recommended 10-15 minutes until it was time to rinse off the product, at first it felt very cool on the surface of my skin. I did get a mild, tingly sensation as the product was hardening. It felt nice because once the mask become stiff, it was warm. As soon as I rinsed my face with lukewarm water, my face felt completely rejuvenated and there is possibly no words to describe that feeling unless you’ve personally experienced it. My face felt tightened and even a little brighter while my pores looked smaller. Since I had to rinse off the excess, I didn’t get a chance to analyze if there were any blackheads or white heads removed which would have been nice to see (yet completely gross yet sort of satisfying… you feel me? lol) I really enjoyed the experience and I’m planning to continue using it at least once a week to get the full benefits! Some of the benefits of activate charcoal are;

  1. drawing out bacteria, poisons, chemicals, dirt and other micro-particles from the surface of the skin
  2. helping to achieve flawless complexion
  3. fighting acne
  4. known to absorb thousands of times it own mass in harmful substance

Charcoal is seemingly everywhere, especially in products for your skin. If you scan the shelves of any drugstore, you might find a few products with charcoal printed boldly on the packaging as its main ingredient. Although the packaging for the Morihata Binchotan Activated Charcoal Cleansing Mask is very unimpressive with its plain cardboard like packaging and white labels, the product is well worth the splurge because of the novelty in the ‘activate charcoal’ ingredient. Binchotan charcoal is regarded as the purest and most effective type of activated charcoal deriving from the ancient kilns of Japan. And if your wondering ‘what the heck are ancient kilns of Japan?’ I’m right there with you friend because, essentially, they are ovens made from big rocks that were used during ancient times in Japan.

mask-5

mask-7

mask-6

mask-2

mask-4

mask-3

Thanks for reading along and let me know in the comments below if you’ve personally tried this product or something similar. Be sure to check out my previous blog post!

For more daily random updates, you can follow me on instagram or twitter!

Essie ‘Wild Nude’ x Nail Update

essie-2

essie-6

essie-3

essie-5

essie

I mean, can we talk about this color?

its pretty but is it brown or like a medium tone grey?

I purchased this nail polish a few days before my wedding because of how sophisticated the hue looked. I wanted to make sure my nails looked polished as we exchanged our vows and slide the marriage bands onto our fingers.

I hope you enjoy the little nail polish inspiration for the day!

Wet N Wild PhotoFocus x First Impressions Review

setting-3

Here was the agenda for the day…

Go to Manhattan to get drug tested for a new job
Go Northwest of Midtown for the DMV office
Go Southwest to visit campus to complete registration for this Fall
&& then to go back into Brooklyn to my parents house, to pick up my youngest autistic brother from the school bus…

ooh, my day wasn’t over just yet cause I needed to, then, go across town. To get back to my apartment and finally EAT!

Then once I got home, immediately start breastfeeding my babygirl cause engorgement is a mother f******.

All this had to be done in 80 degree weather, so I decided to wear some lightweight coverage because I wasn’t about to look like I just rolled out of bed…

My day was full of errands and just as I finished up the last touches of my coverage, I ended my routine with the Wet N Wild PhotoFocus Vaporisateur Setting Spray. I didn’t notice much of a scent, which is great because I hate having strong perfumes or smells around me (unless I actually put on perfume). The nozzle is not hard to push down and it doesn’t get stuck on itself as your fingers are pushing it down. From the many makeup Youtube videos I’ve seen, setting spray is key and should be one of the last steps to helping maintain all that effort you put to applying the makeup in the first place. This is a classic drugstore find and for the price point, you’ll likely find me hoarding this cause I’m a huge fan.

Throughout my agenda, I paid special attention to the overall appearance of my face which is more on the oily side and these are the things I noticed on my skin;

-my nose was not so oily even after power walking to catch the train with some of my nose contour still in place! I was really surprised by this little victory because my nose is usually the first thing that gets super oily.

-at noon, the temperature was at its highest and I started to get some sweat beads around my hairline but my eyebrows stayed the same as when I first left my house (hurray!) and

-by the time I got to my parents house, I felt super hot and humid. When I looked in the mirror, I was surprised to see that my skin still looked a bit airbrushed, except for my nose. The bit of oil on my skin looked a bit glowy also (as if I’d applied some highlighter) which was a very nice effect!

For the first time trying it out, I was really impressed by how long my coverage stayed on especially on such a challenging hot New York City day. To back up my experience and see how others felt once they put this to the test, I looked up a few Youtube videos to just see what others had experienced. Nathalie Marie Kay, a beauty Youtuber Creator, did an awesome comprehensive review of multiple drugstore and high end brand setting sprays. She felt that the Wet N Wild PhotoFocus was one of her top three choices (link of the video down below because its awesome) and she even compared it to the Urban Decay All Nighter Makeup Setting Spray.

Her review made me feel even more excited about this purchase because it was money well spend. Nothing gets me more disappointed then when something is overpriced and your not getting the quality that you expect for it. Especially to someone like me, who’s learning the effects of different products on my skin after pregnancy since my hormones have changed the texture of my skin.

setting-4

setting

setting-2

Thank you so much for checking out this review, I’ll try to post on a more consistent basis, but I get lazy and, honestly, sometimes uninspired. Thank you again and have a blessed day!

Link of Youtube Video: https://www.youtube.com/watch?v=FJa9uWdMaNI&t=1004s

Wet n Wild Mega Liner Glam Kat Eyes

#MOTD inspiration!

Yesterday, Americans all across the fifty states celebrated our independence day with a lot of bbq and fireworks. Its the unofficial, official start of summer, which is awesome!

But the heat and humidity makes it unbearable to put on a full face without it literally melting off your face. For the rest of the summer, my strategy is to emphasize the eyes while being subtle and light on my skin so it’ll have enough room to breath. One easy way to create glam look is a sexy cat eye. The first step to getting it done perfectly (even if you’ve got to try a few times) is by finding a pointy tip liquid eyeliner. It will revolutionize the way the wings are applied and wear throughout the day. My personal favorite drugstore liquid liner, that is amazing for your budget and overall quality is the Wet n Wild Megaliner. The Megaliner collection has a variety of liner tips and colors to create the looks your heart desires.

liner6

The rundown of products I used for my eyes…liner11

liner12liner2liner5

Using the same Wet n Wild Megaliner, you can create the inner corner wings which just emphasizes the shape of your eyes beautifully. Then I used the Mega Eyeliner Pencil to trace my water line because the pencil is not as bold and looks more natural. Lastly, I applied some mascara and then curled them with my a curler so my lashes will stay up for longer. The Maybelline The Colossal Volum’Express is nice… but its not always consistent. Sometimes the mascara comes out clumpy and other times its smooth.

liner9

These are the products I used for my face. As you can see, I just focused on covering my under circles and set it with the Maybelline FIT Me! Powder so it’ll keep my face matte. By keeping the skin smooth and simple, it’ll  make the eyes pop even more.

liner8

liner7

I found these blending sponges at my local bargain store. I enjoyed how they’re all in different shapes and blend smoothly.

liner10

The Neutrogena 3-in-1 Concealer has been my go-to for everything. I found that using a flat shader brush makes the littlest drop of the concealer go a long way, which helps me save on quantitylinerliner4

Thank you so much for checking out my post! I hope this look inspires you to try it out. Whats been your favorite liquid drugstore liner? Let me know in the comments below. Have a blessed day!

Burt’s Bees Brightening Dark Spot Corrector x Review

When I purchased the Burt’s Bees Brightening Dark Spot Corrector with Daisy Extract I was sold on the promises marketed on the packaging. Its a huge goal of mine to fade out the dark spots and so called freckles on my cheeks that were caused from too much sun exposure. If you have sun damage, you know how difficult and annoying it is to apply a full face of foundation because the freckles will easily give your attempts away which sucks! Sun damage causes age spots by the UV rays, hyperpigmentation and collagen damage. For me, sun spots are tough to tackle, so this post is a review of my first impressions on this $20.00 drugstore product.

burts2

The packaging is cute with a daisy printed on the center of the box followed by a yellow, gray and red packaging color palette. The wholesomeness of its appearance shows the honesty of the company’s 100% natural and gentle ingredients (which I love). If you would search on google ways to remove sun spots, one of the options is to bleach your skin which honesty seems unnatural and more damaging long term then sun damage.

burts4

Although it took a while to see some difference on the surface of my skin, there were a few qualities of the product that I didn’t enjoy. If you’ve tried this product before, let me know about your experience in the comments below…

Personally, I hated the smell because it was a bit bitter and like sour tea. Although I didn’t expect it to have a lot of fragrance, in my mind I envisioned a subtle floral scent or nothing at all. The smell was out of left field in a strong bad way and its was the main reason why I wasn’t using it every single night and morning like the directions suggested.

burts3

During the times I did use it, the liquid would sometimes come out clear without any traces or hints of some color even after I would shake it. It was weird. But then there were times that it looked slightly brown. Then as I got close to finishing the bottle, the color of the liquid was brown… brown? whether that was normal or not, it seemed a bit odd. After seeing that, I can’t help but feel as if I didn’t get any product throughout the time that I used it especially since it was a clear liquid that smelled bad.

From afar, I can’t notice most of my dark spots except for the ones that are in ackward places on my face which sucks. My old job required me to drive a lot and most of the time I would forget to put on sunscreen so I got more damage on one side of my face then the other. To completely thank this product is hard because for most of the year it was winter and now that its summer, I’ve been putting on sunscreen even to go to the corner store.

One thing I should have done to really monitor the product performance was to take before and after pictures. Now I know for next time but weather or not I’ll be spending 20$ for another 1 oz bottle… I don’t think so.

Thank you so much for checking out my blog! Have you had a similar experience before with this product? Whats your summer beauty must haves? Let me know in the comments below and have a blessed day!


New Auburn Hair x Highlights

Finally! I got around to doing my hair. I really hated how it looked like before with the orangey cooper ombré. Every time I looked at myself in the mirror, I would get upset because of how unhealthy it became after all the failed attempts of trying to do it myself. Now that I’m a mom, day to day tasks are a lot more difficult to accomplish. The last thing I wanted to feel was annoyed at myself for not, at least, looking put together.

Since my budgets been tight, the smartest thing I did was to buy myself a Groupon voucher in May. All month long stores were fighting for attention through promos and discounts for Mother’s Day. I was diligent by reviewing and comparing prices and salons. I wanted to get the most bang for my money and to actually go to a hair salon that I felt cared for my hair or rather I could communicate effectively on what I had in mind.

Before it hit me that I could get a deal on hair services through Groupon, I was literally on the verge of going to a salon that would have done everything for the “very” low starting cost of 150$….

Ladies, that is shopping money, grocery money, and bill money lol

But overall, I loved it! Here are a few pictures to show you all the cut, color and amazing blow out (also the best back view of my baby girl).

Ps. if your thinking of changing your hair to a different color, go to the experts or your favorite salon. You’ll be doing yourself the best service!

b3

b2-1

b1