The Pink Lip

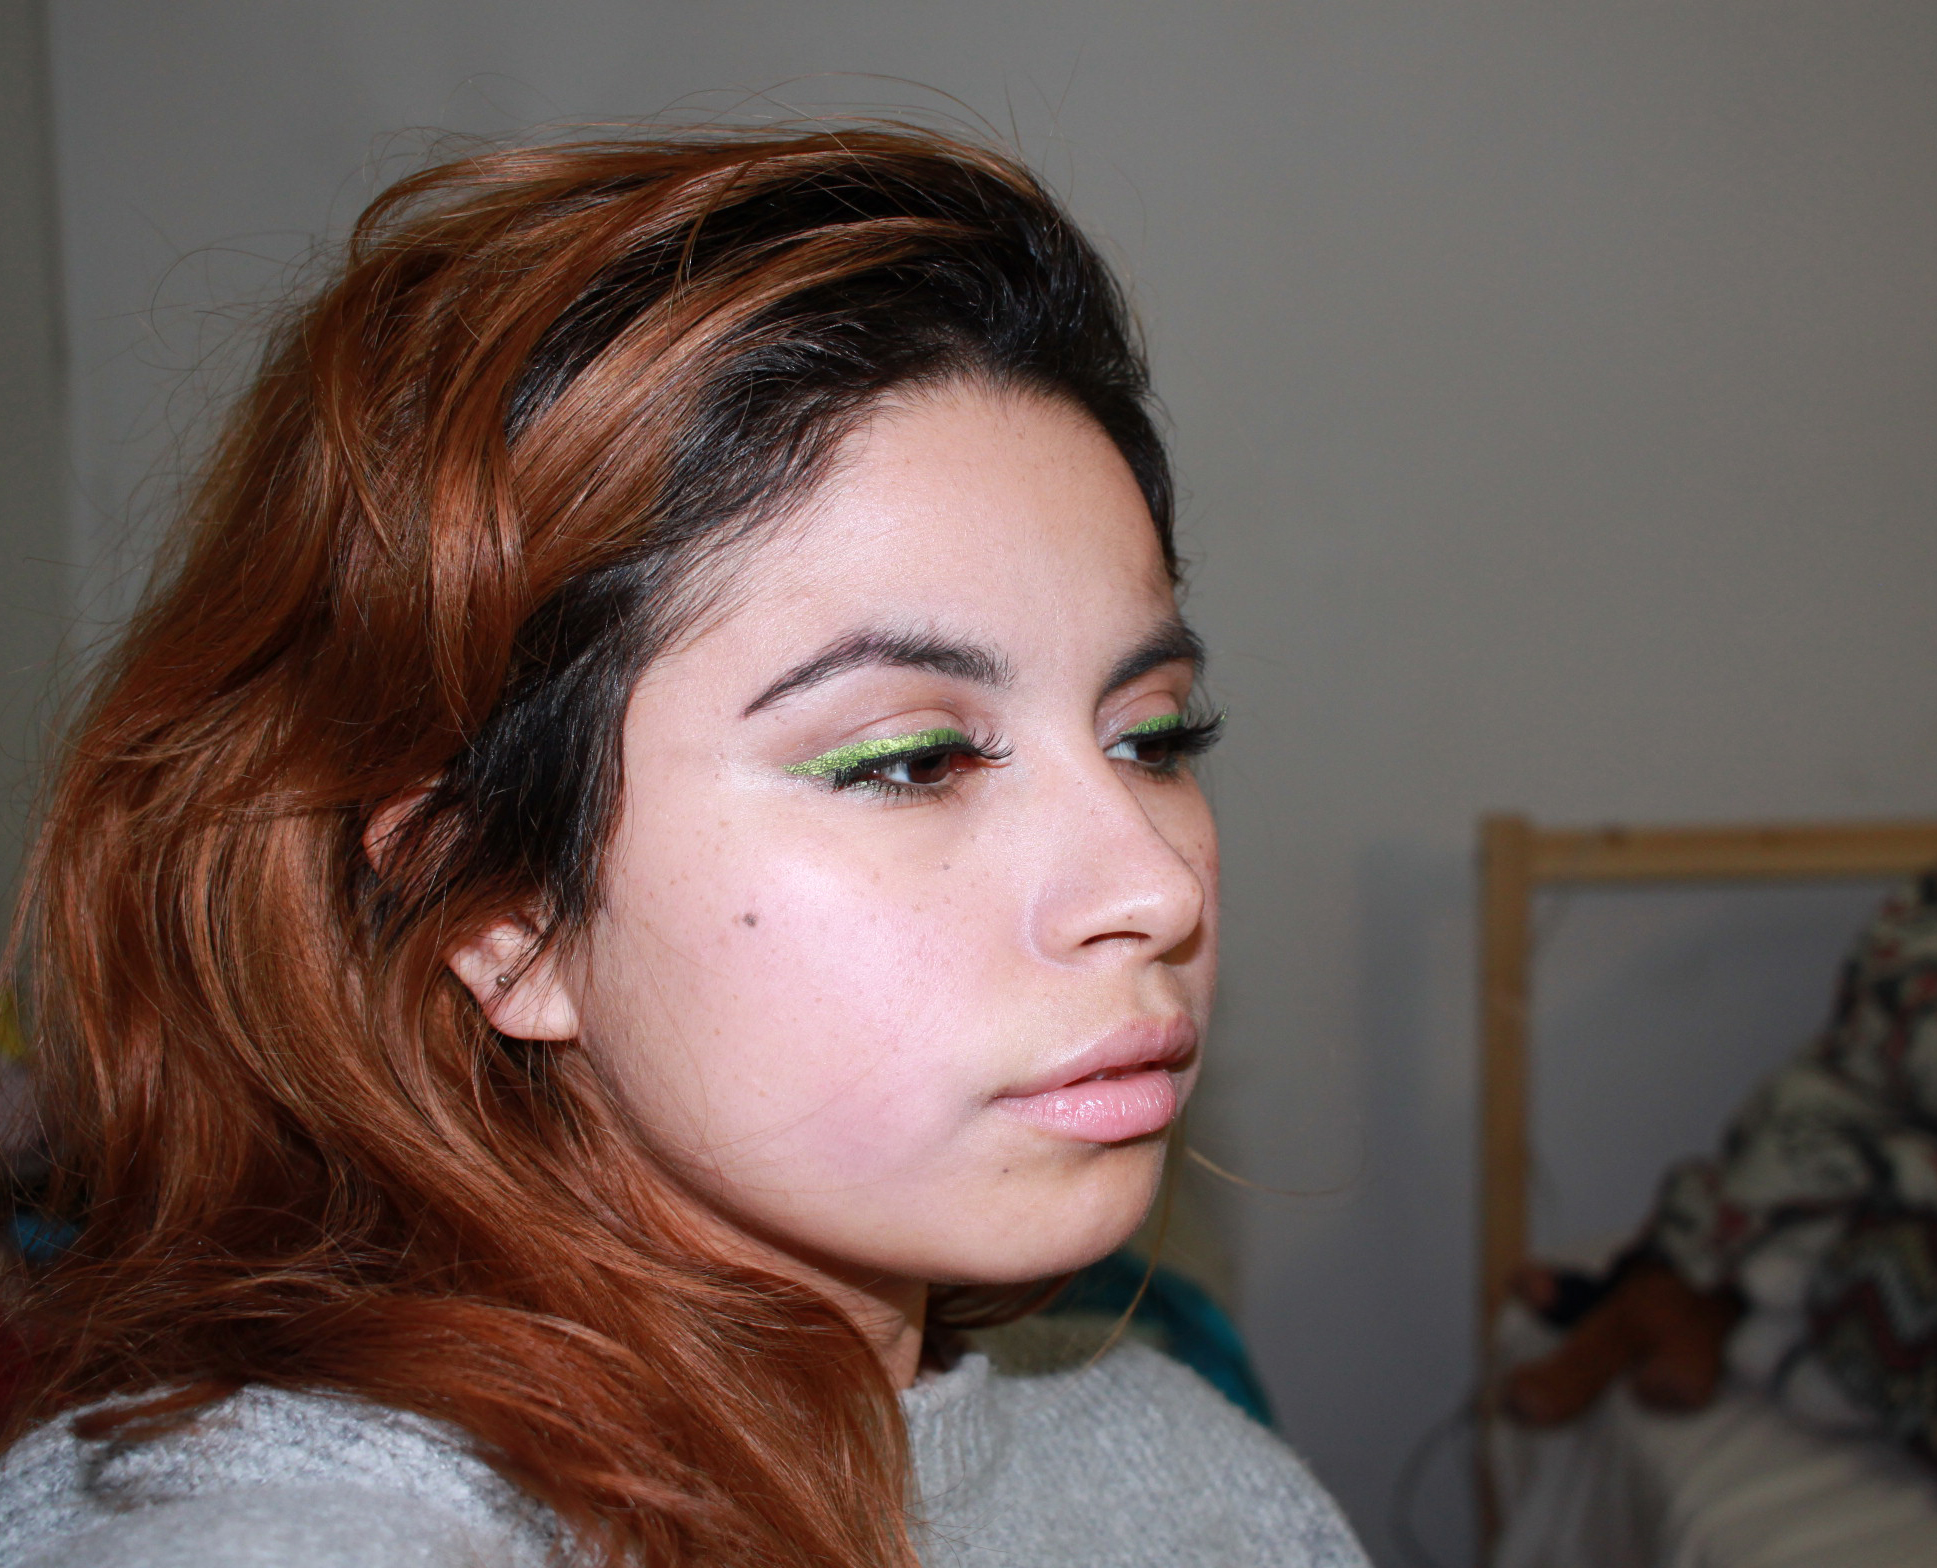
Today, I promised myself to try something different and to get out of my comfort zone. Lately, I’ve been going back to the same makeup look. Each time swearing that this time, I might look just a bit different, then the look from the day before. My current everyday makeup look has me feeling uninspired and slightly bored.

Seeing that I already own a few lipstick shades, but never use, I thought that I should give a bold reddish lip a try. I have the shades, along with the fear of testing it out and going outside with it on… does that make me sound a bit silly?… Probably…

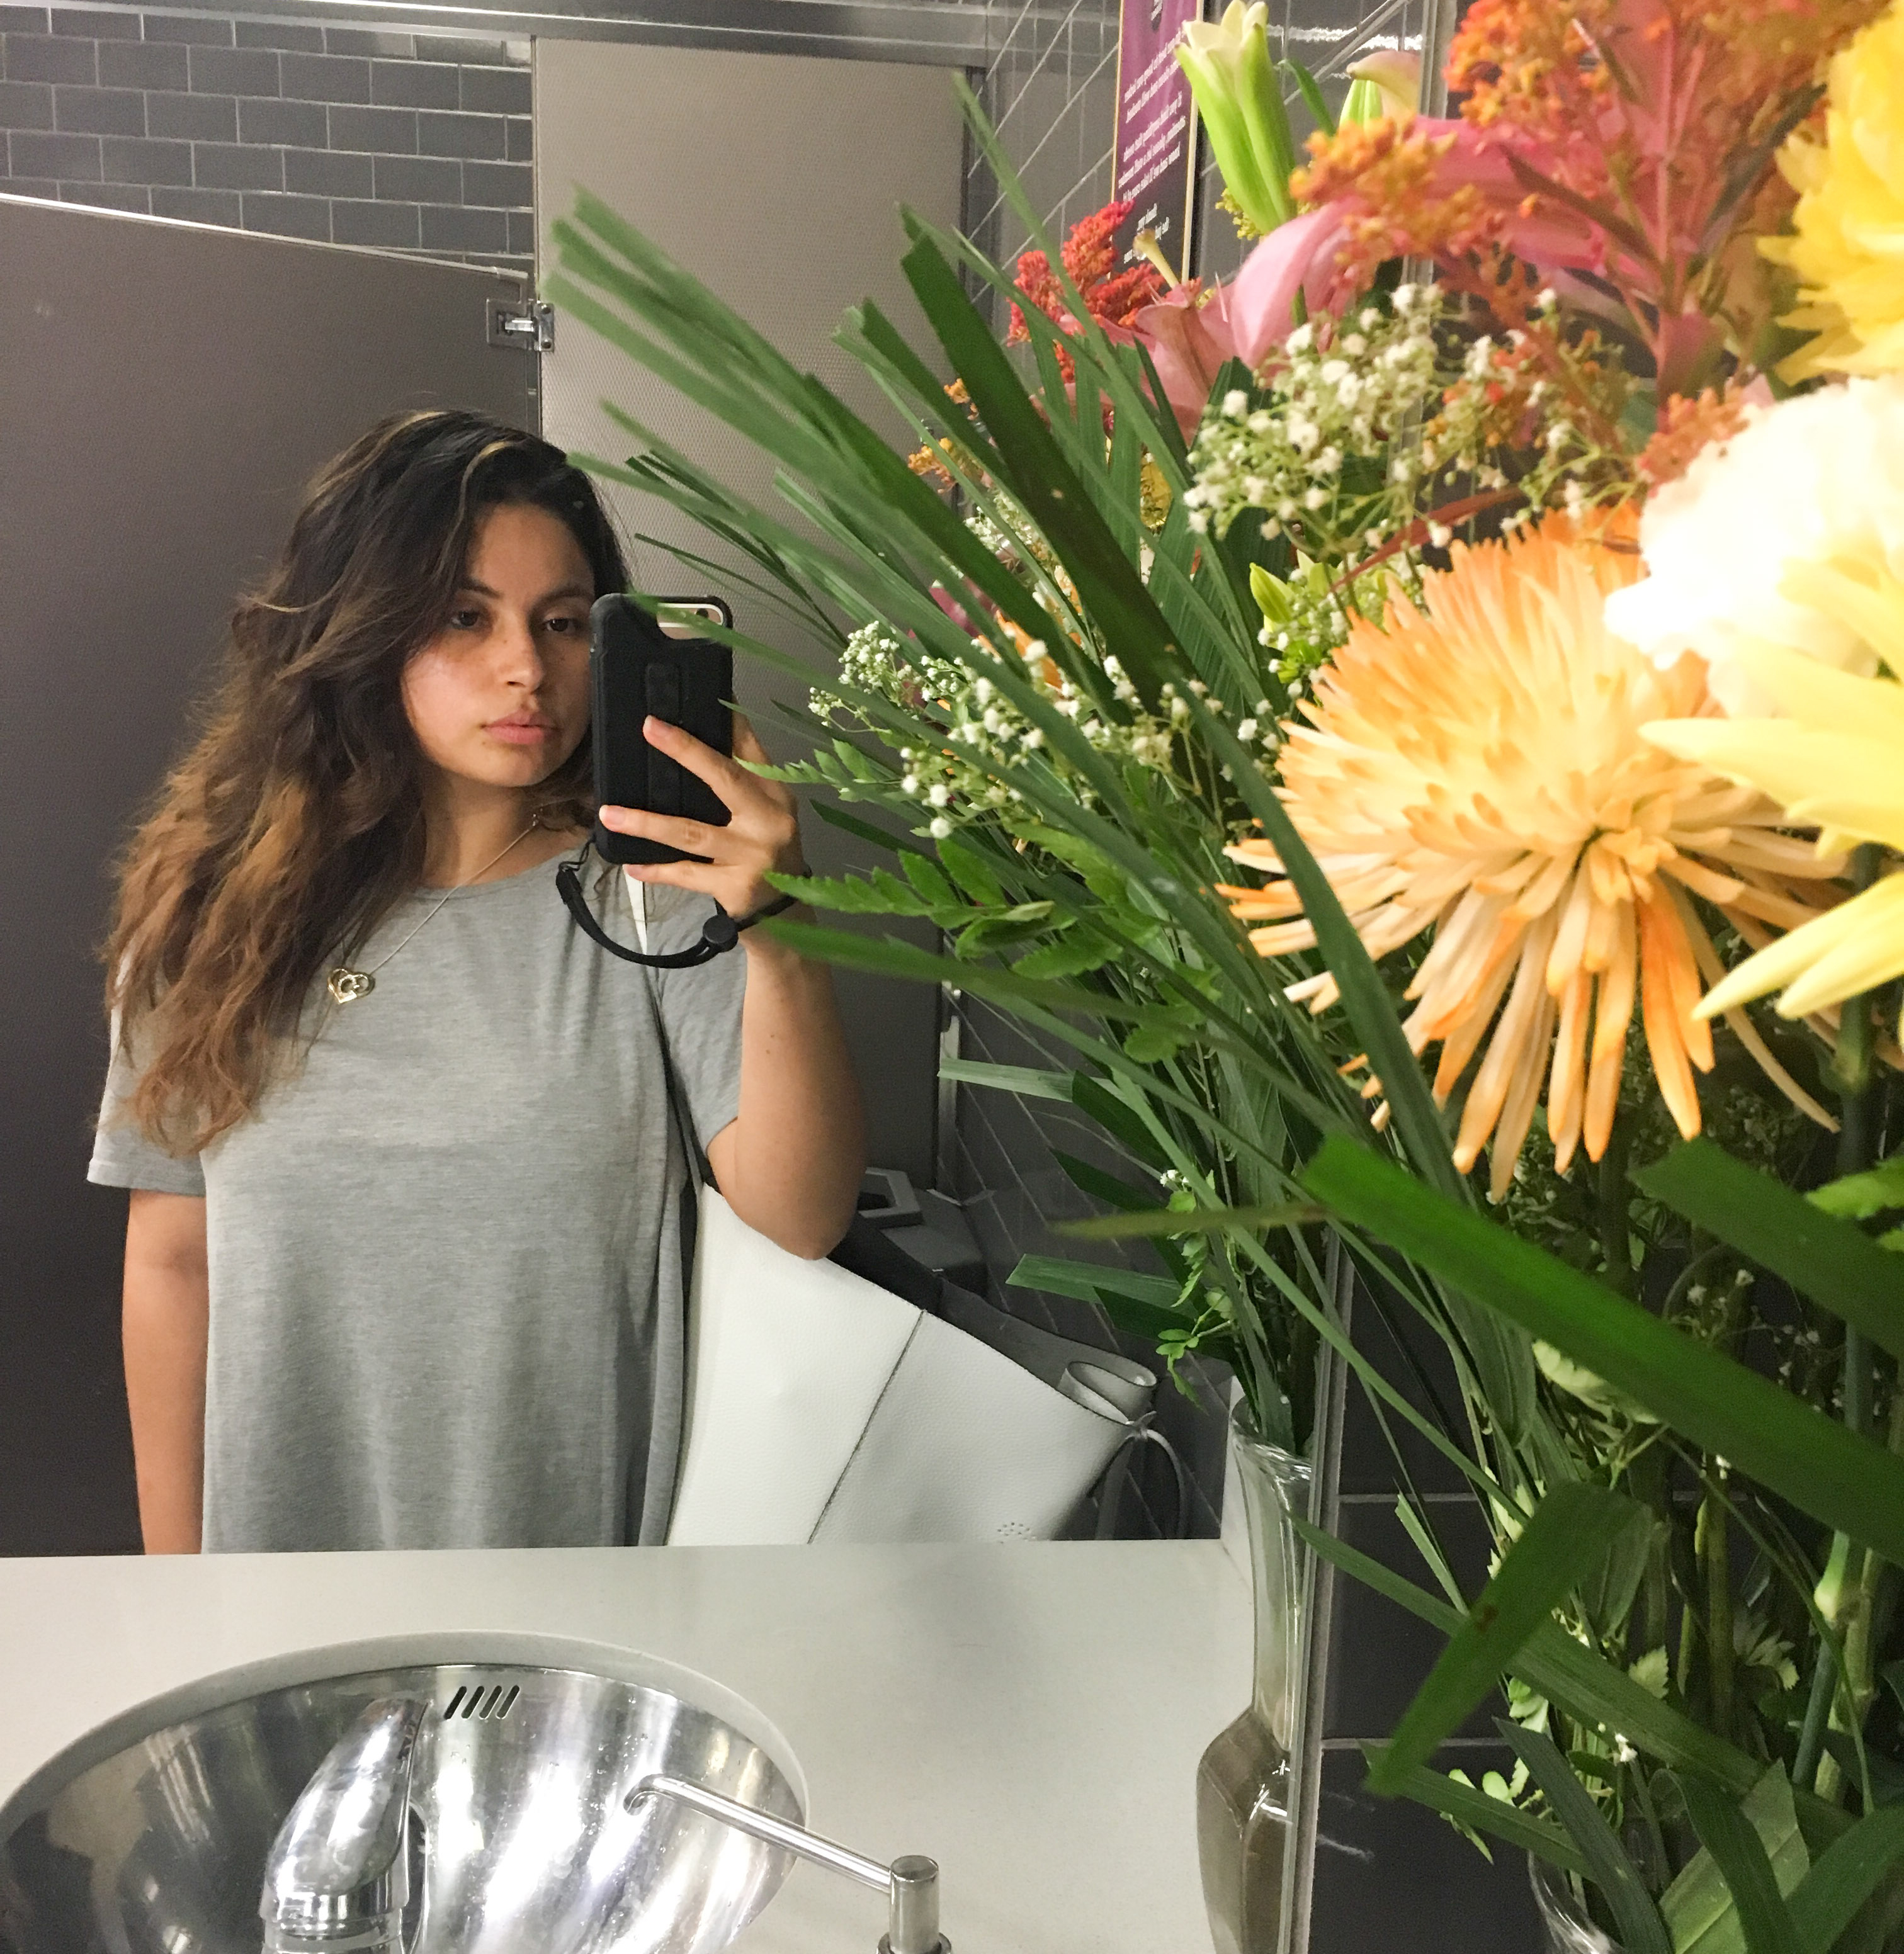
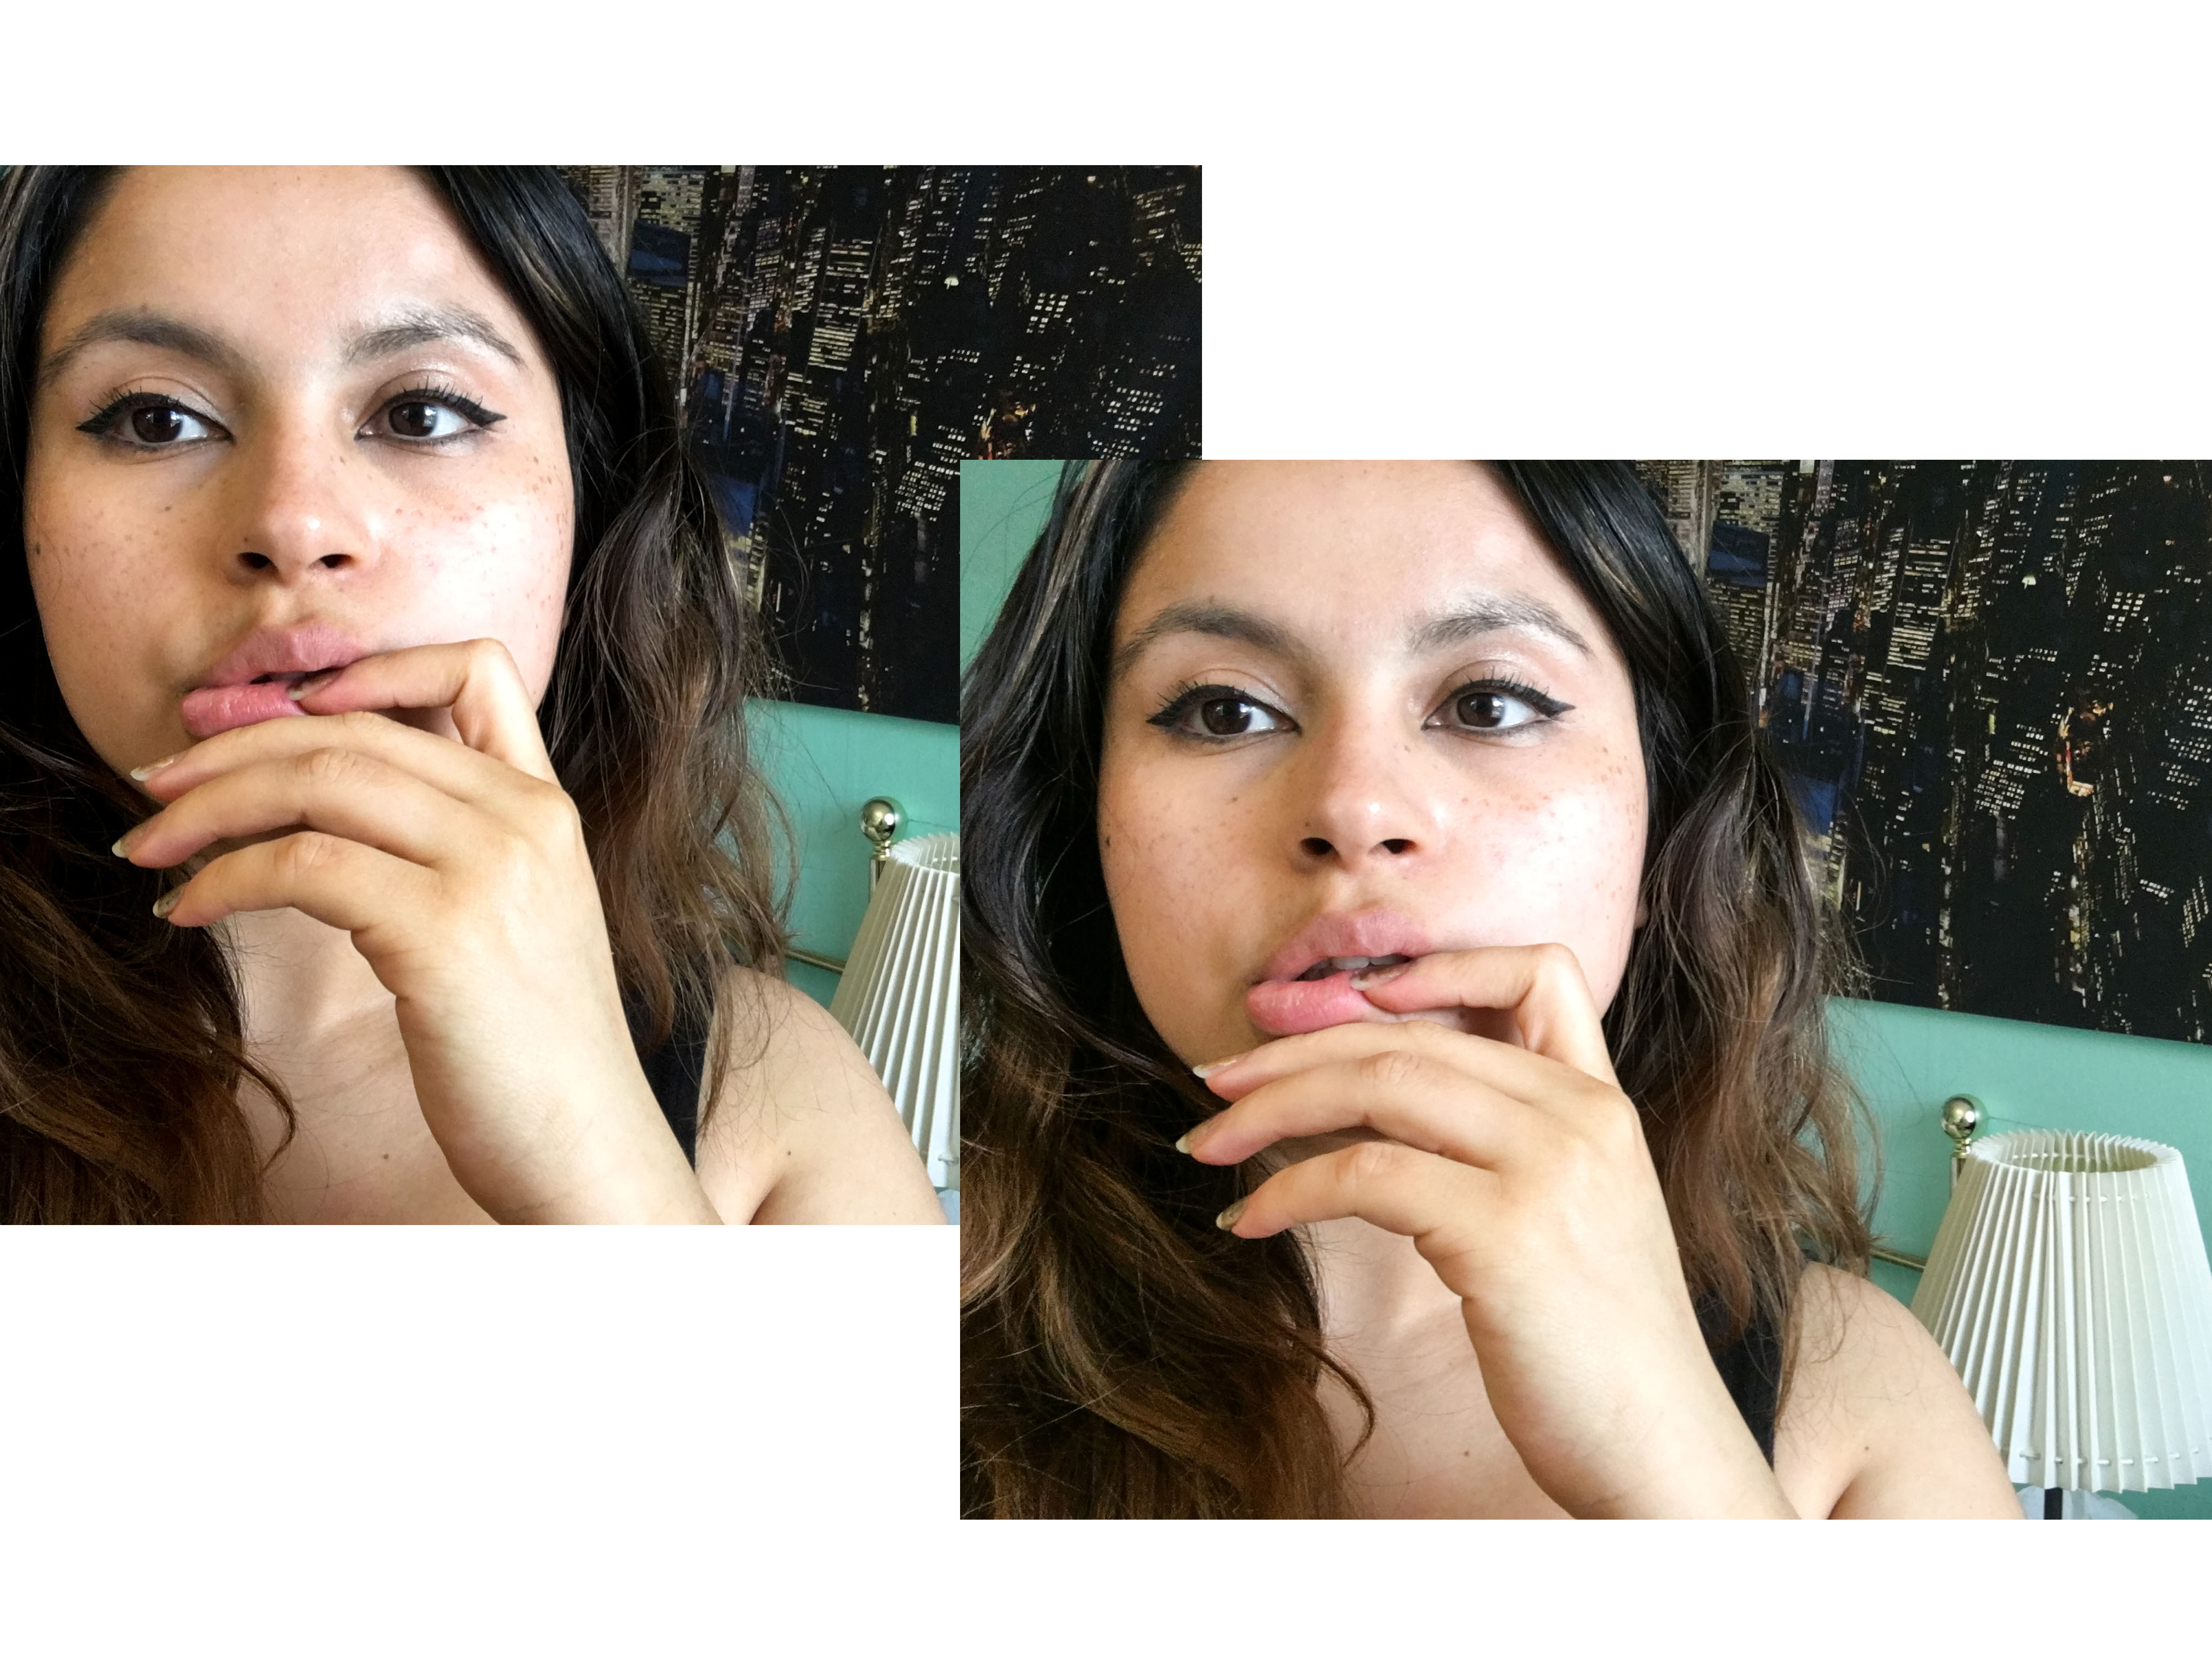
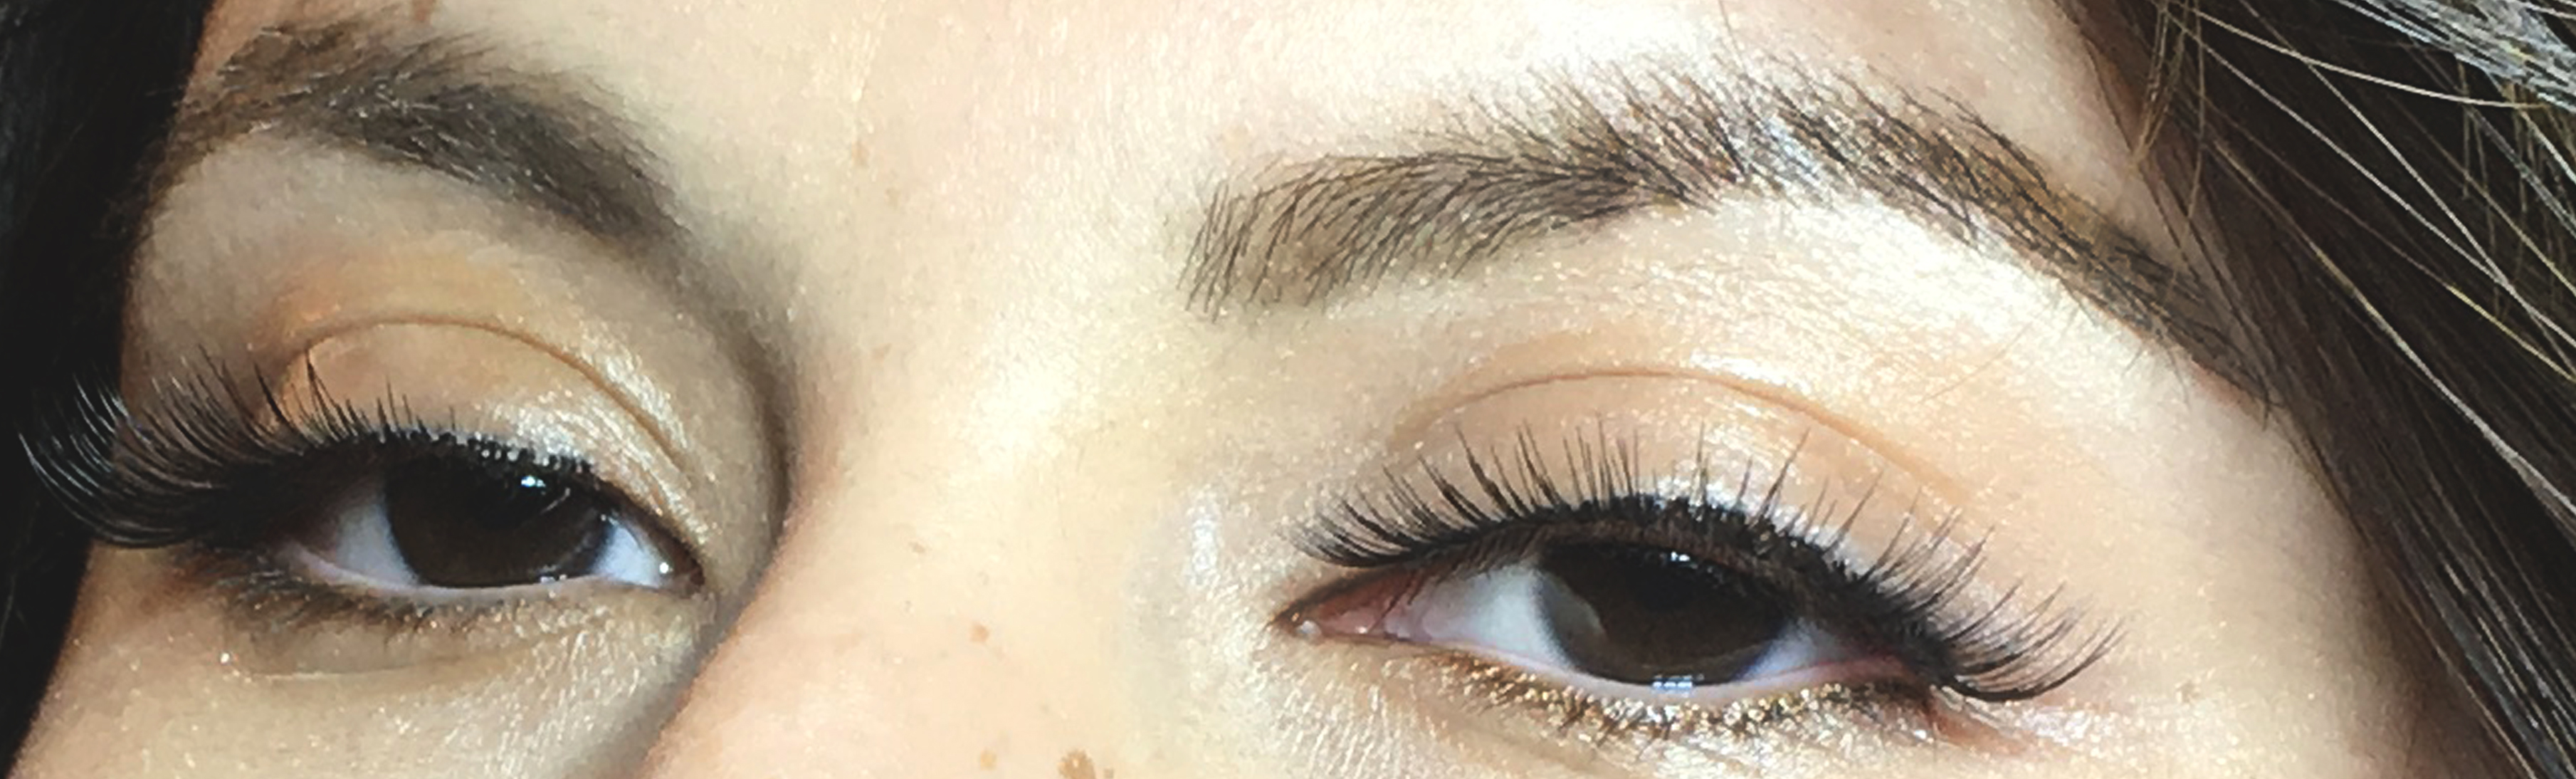
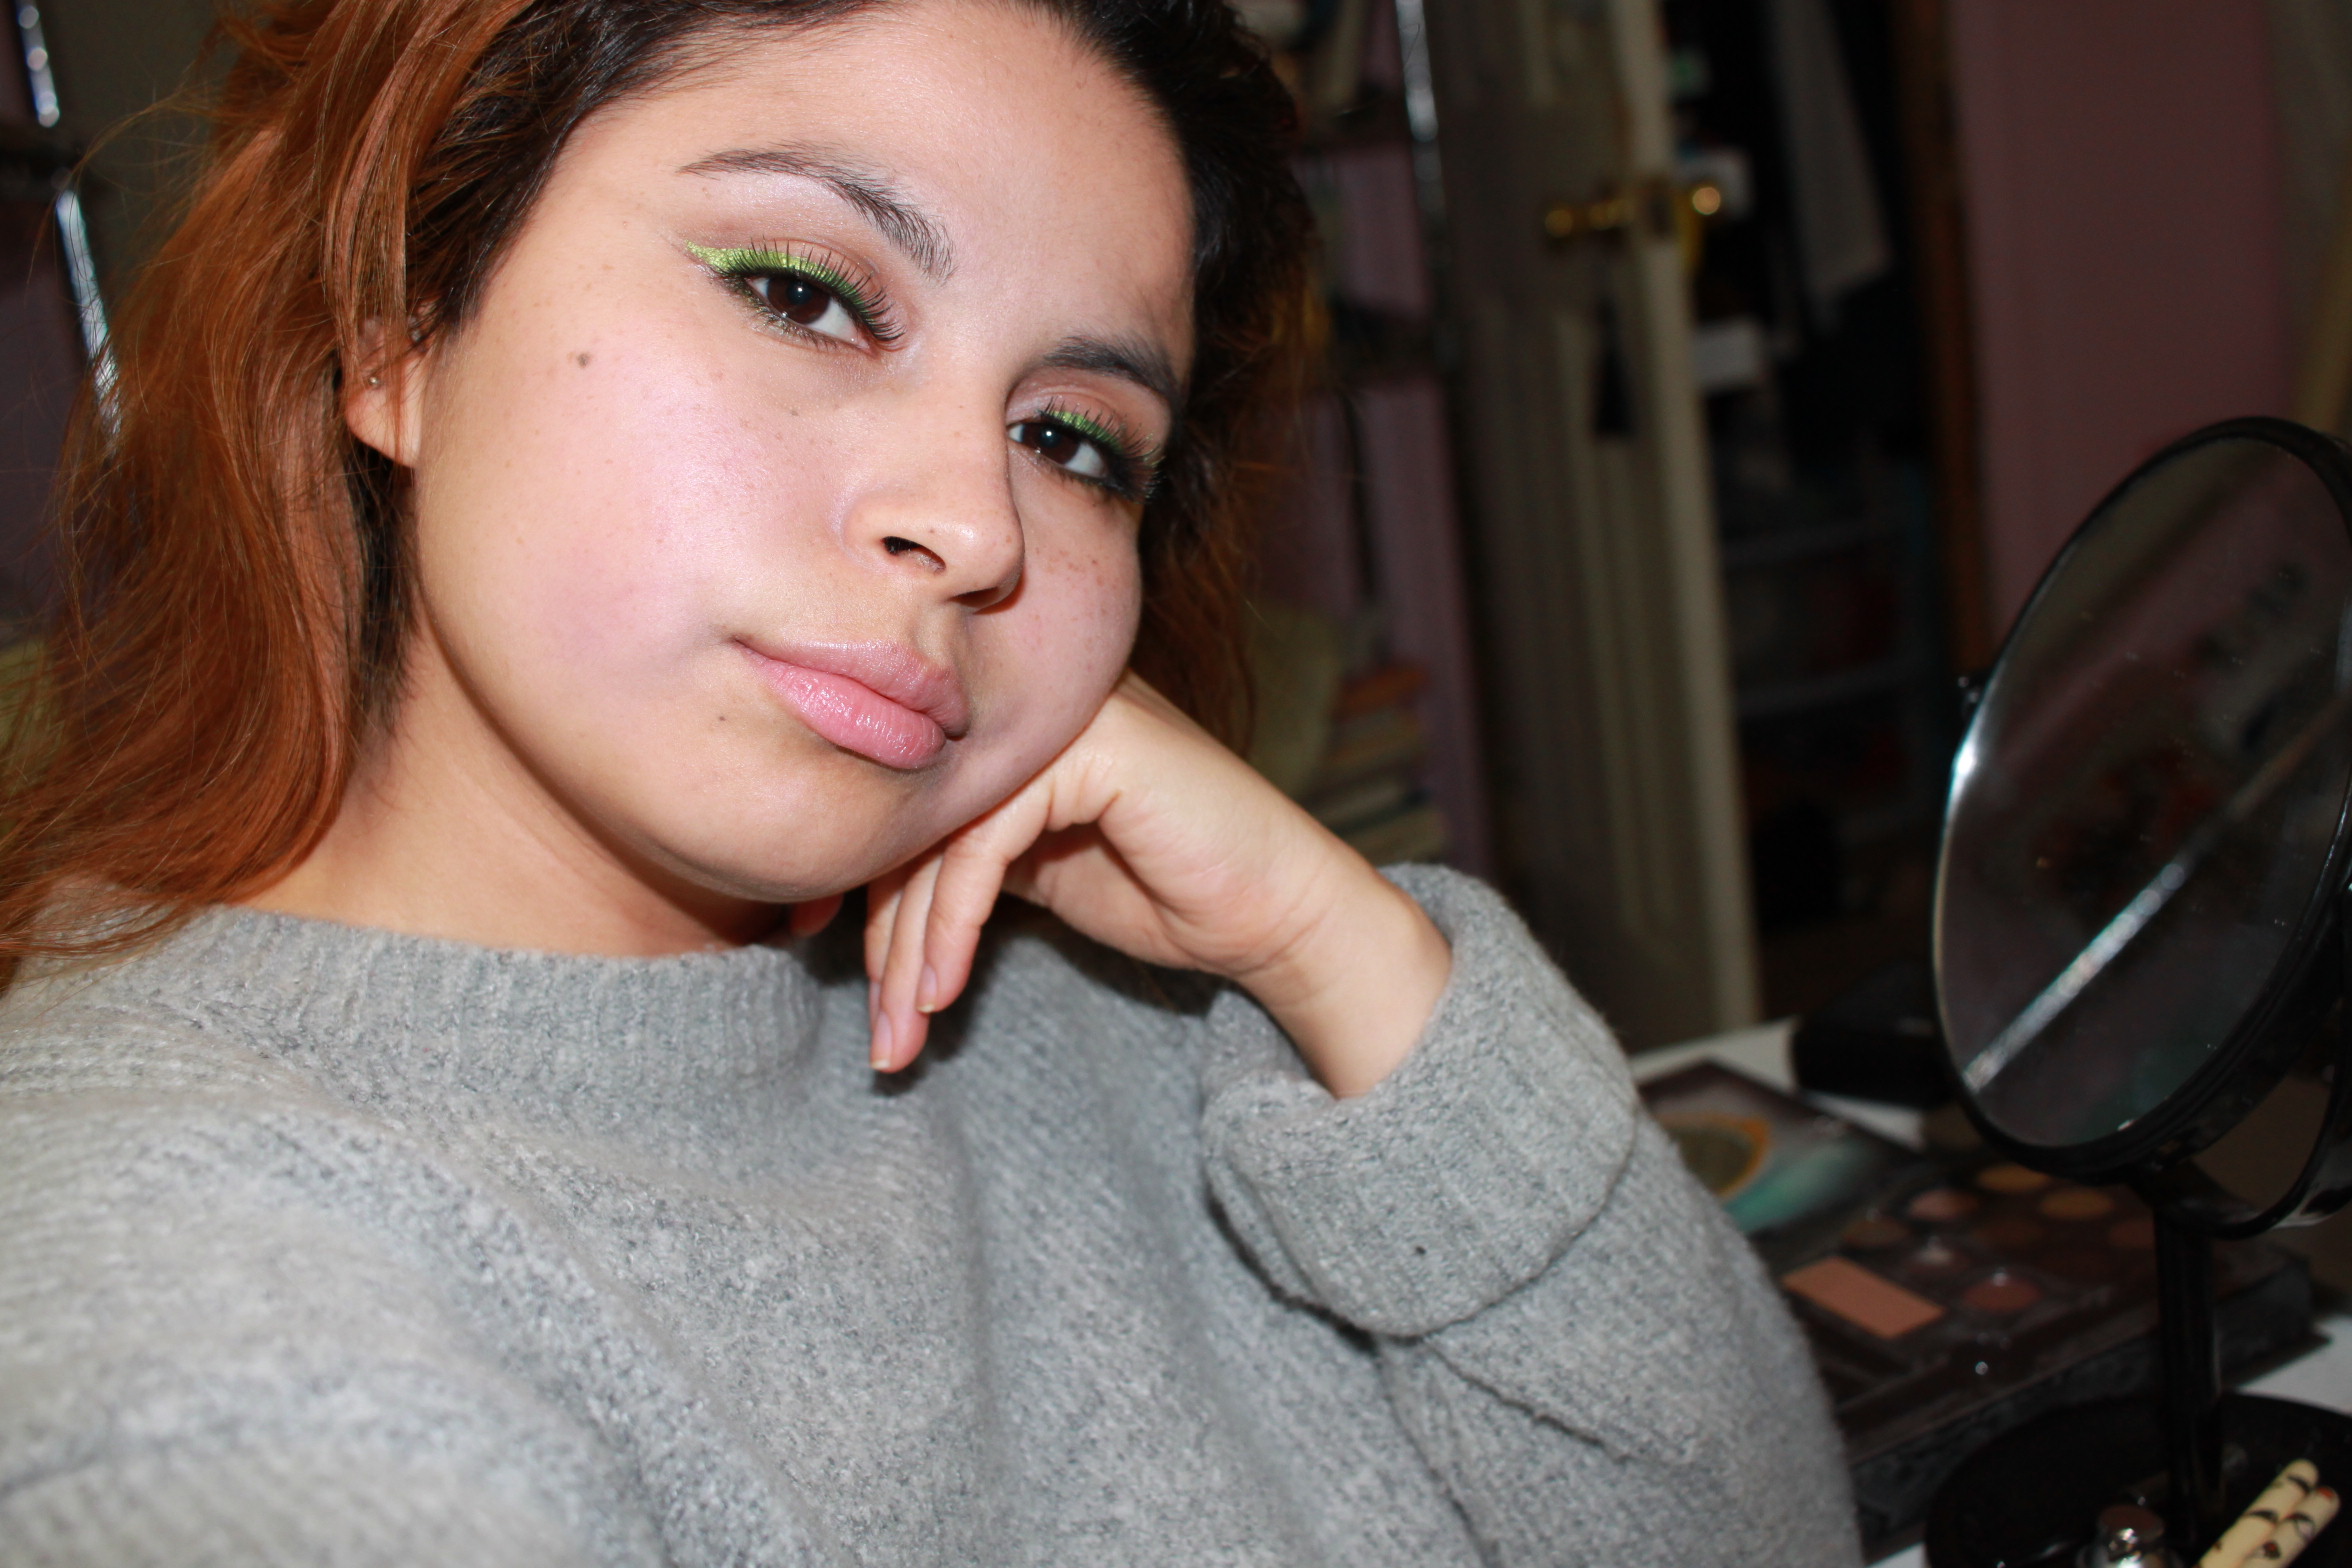
After applying the matte red lip shade, my immediate reaction was to take it off. But then I stopped myself for the sake of not wasting time putting. I kept everything else light. My eye makeup minimal, enough concealer to cancel my trouble spots and focused more on contouring along the sides of my cheekbones and forehead. Lips were my focal point and I was nervous as I spread it along my lips.

My fear of testing red lipstick came from believing that I looked weird with it on. I had this internal worry of judgement. When I asked myself if someone had actually told me that red lipstick didn’t suit me, then is when I realized that I was being my own self critique and being a harsh one too! But once I really let go of these insecurities, I asked myself what am I really afraid of? So what was the worry?

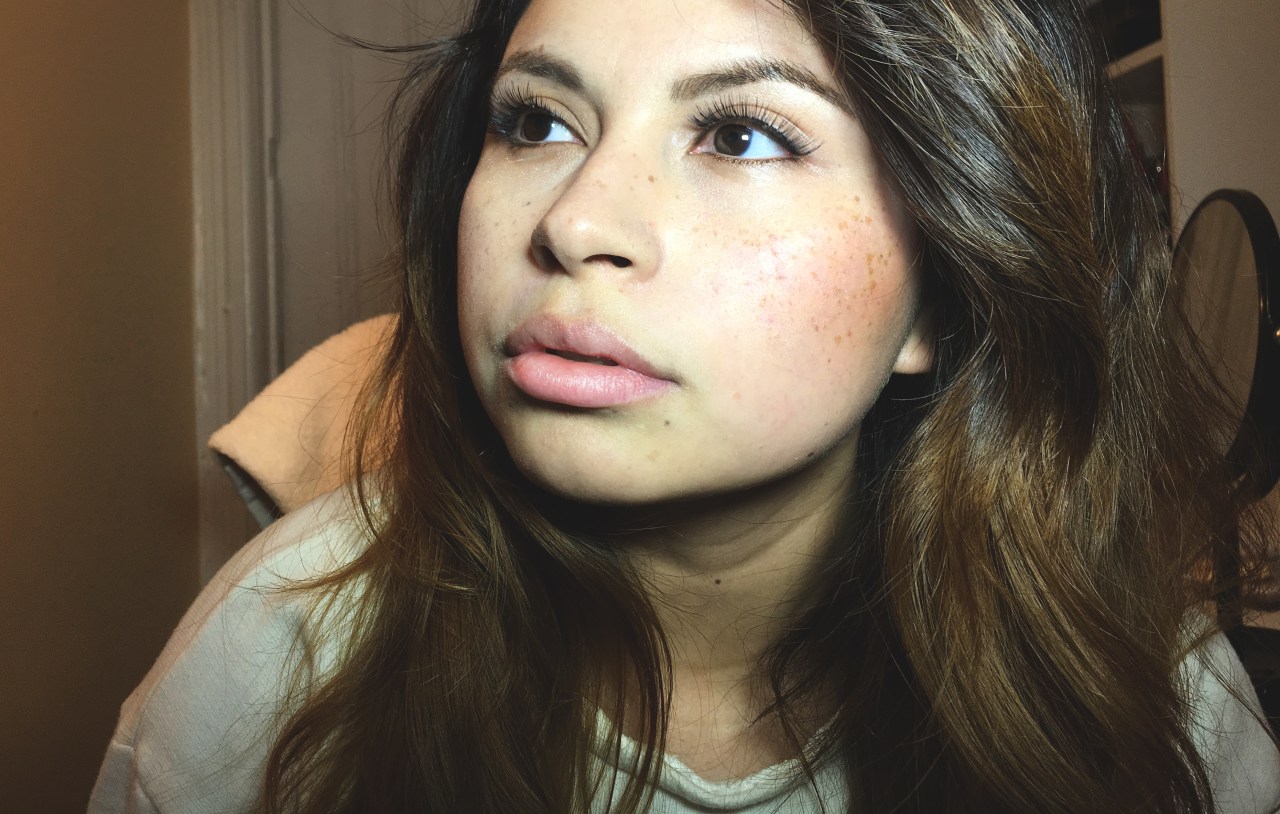
Once I really embraced this bold lip look, I felt focused and oddly, empowered. In retrospective, putting on lipstick and wearing was not weird, but rather the boost of confidence I felt, seemingly out of the blue was. It’s funny how that works.

Thank you for reading my blog post! I’m curious to know if you have had a similar experience with makeup? If so, what inspired you to give it a try regardless of these insecurities?

Like always, have a great day!

Easy Makeup of the Day x A Not So Helpful Guide lol

Honestly, when I feel like crap 💩 I like to do my makeup. Whenever I’m feeling so overwhelmed with different tasks, to do lists, and the on going little details of managing motherhood, I try my best to take a few moments to touch up my a face. Even with just a little bit on, my mood instantly changes from indifferent to motivated and focused. Managing motherhood feels like a challenge every day because you’ve got to learn to balance your own personal needs and the very cautious efforts of parenting and those minutes of just “me time” can make the difference. This feeling is something completely new to me and I only started to really embrace it after I gave birth. This just makes me wonder how much different my attitude about my daily activities would have been if I’d started this routine earlier in life? Why hadn’t another women ever mentioned this and how come its not more commonly mentioned? I don’t feel selfish by taking that little bit of time to just focus on me and sometimes I feel like thats the only time I can get a few minutes with my own thoughts.

I’ve been steadily getting better at doing my own makeup by trying different things or a new technique every time I take up the challenge to apply it. For this look I put a little bit of eyeshadow along with a cate eye wing (which is something I’ve never tried doing cause eyeshadow kind of intimates me). From what I’ve noticed, a light hand is key as your applying it because it can easily start looking like a mess.

Here is a step by step of what I did & please, feel free to chuckle at the subtle humor of the commentary lol:

1-foundation

Step one: covering up my reptilian skin lol

2-concealer

Step two: using this awfully bad compact makeup as a under eye concealer because I needed to use it one last time so I won’t feel so guilty for throwing it out and wasting money on it.

3-powder

Step three: blended well… from this distance you can’t notice the bumpy skin. i think i did a job well done. Now its time to set it with some powder to minimize my oily skin build up. hooray

4-eyeshadow

Step four: some eyeshadow because i hardly wear it and these are subtle enough for others to not notice how mediocre i actually am with makeup.

5-eyemakeup

Step five: if i were in a stranded island, i would put a note inside a bottle asking for whoever reads the note to send me mascara and eyeliner… and some sunscreen cause no one wants to age prematurely6-lipliner
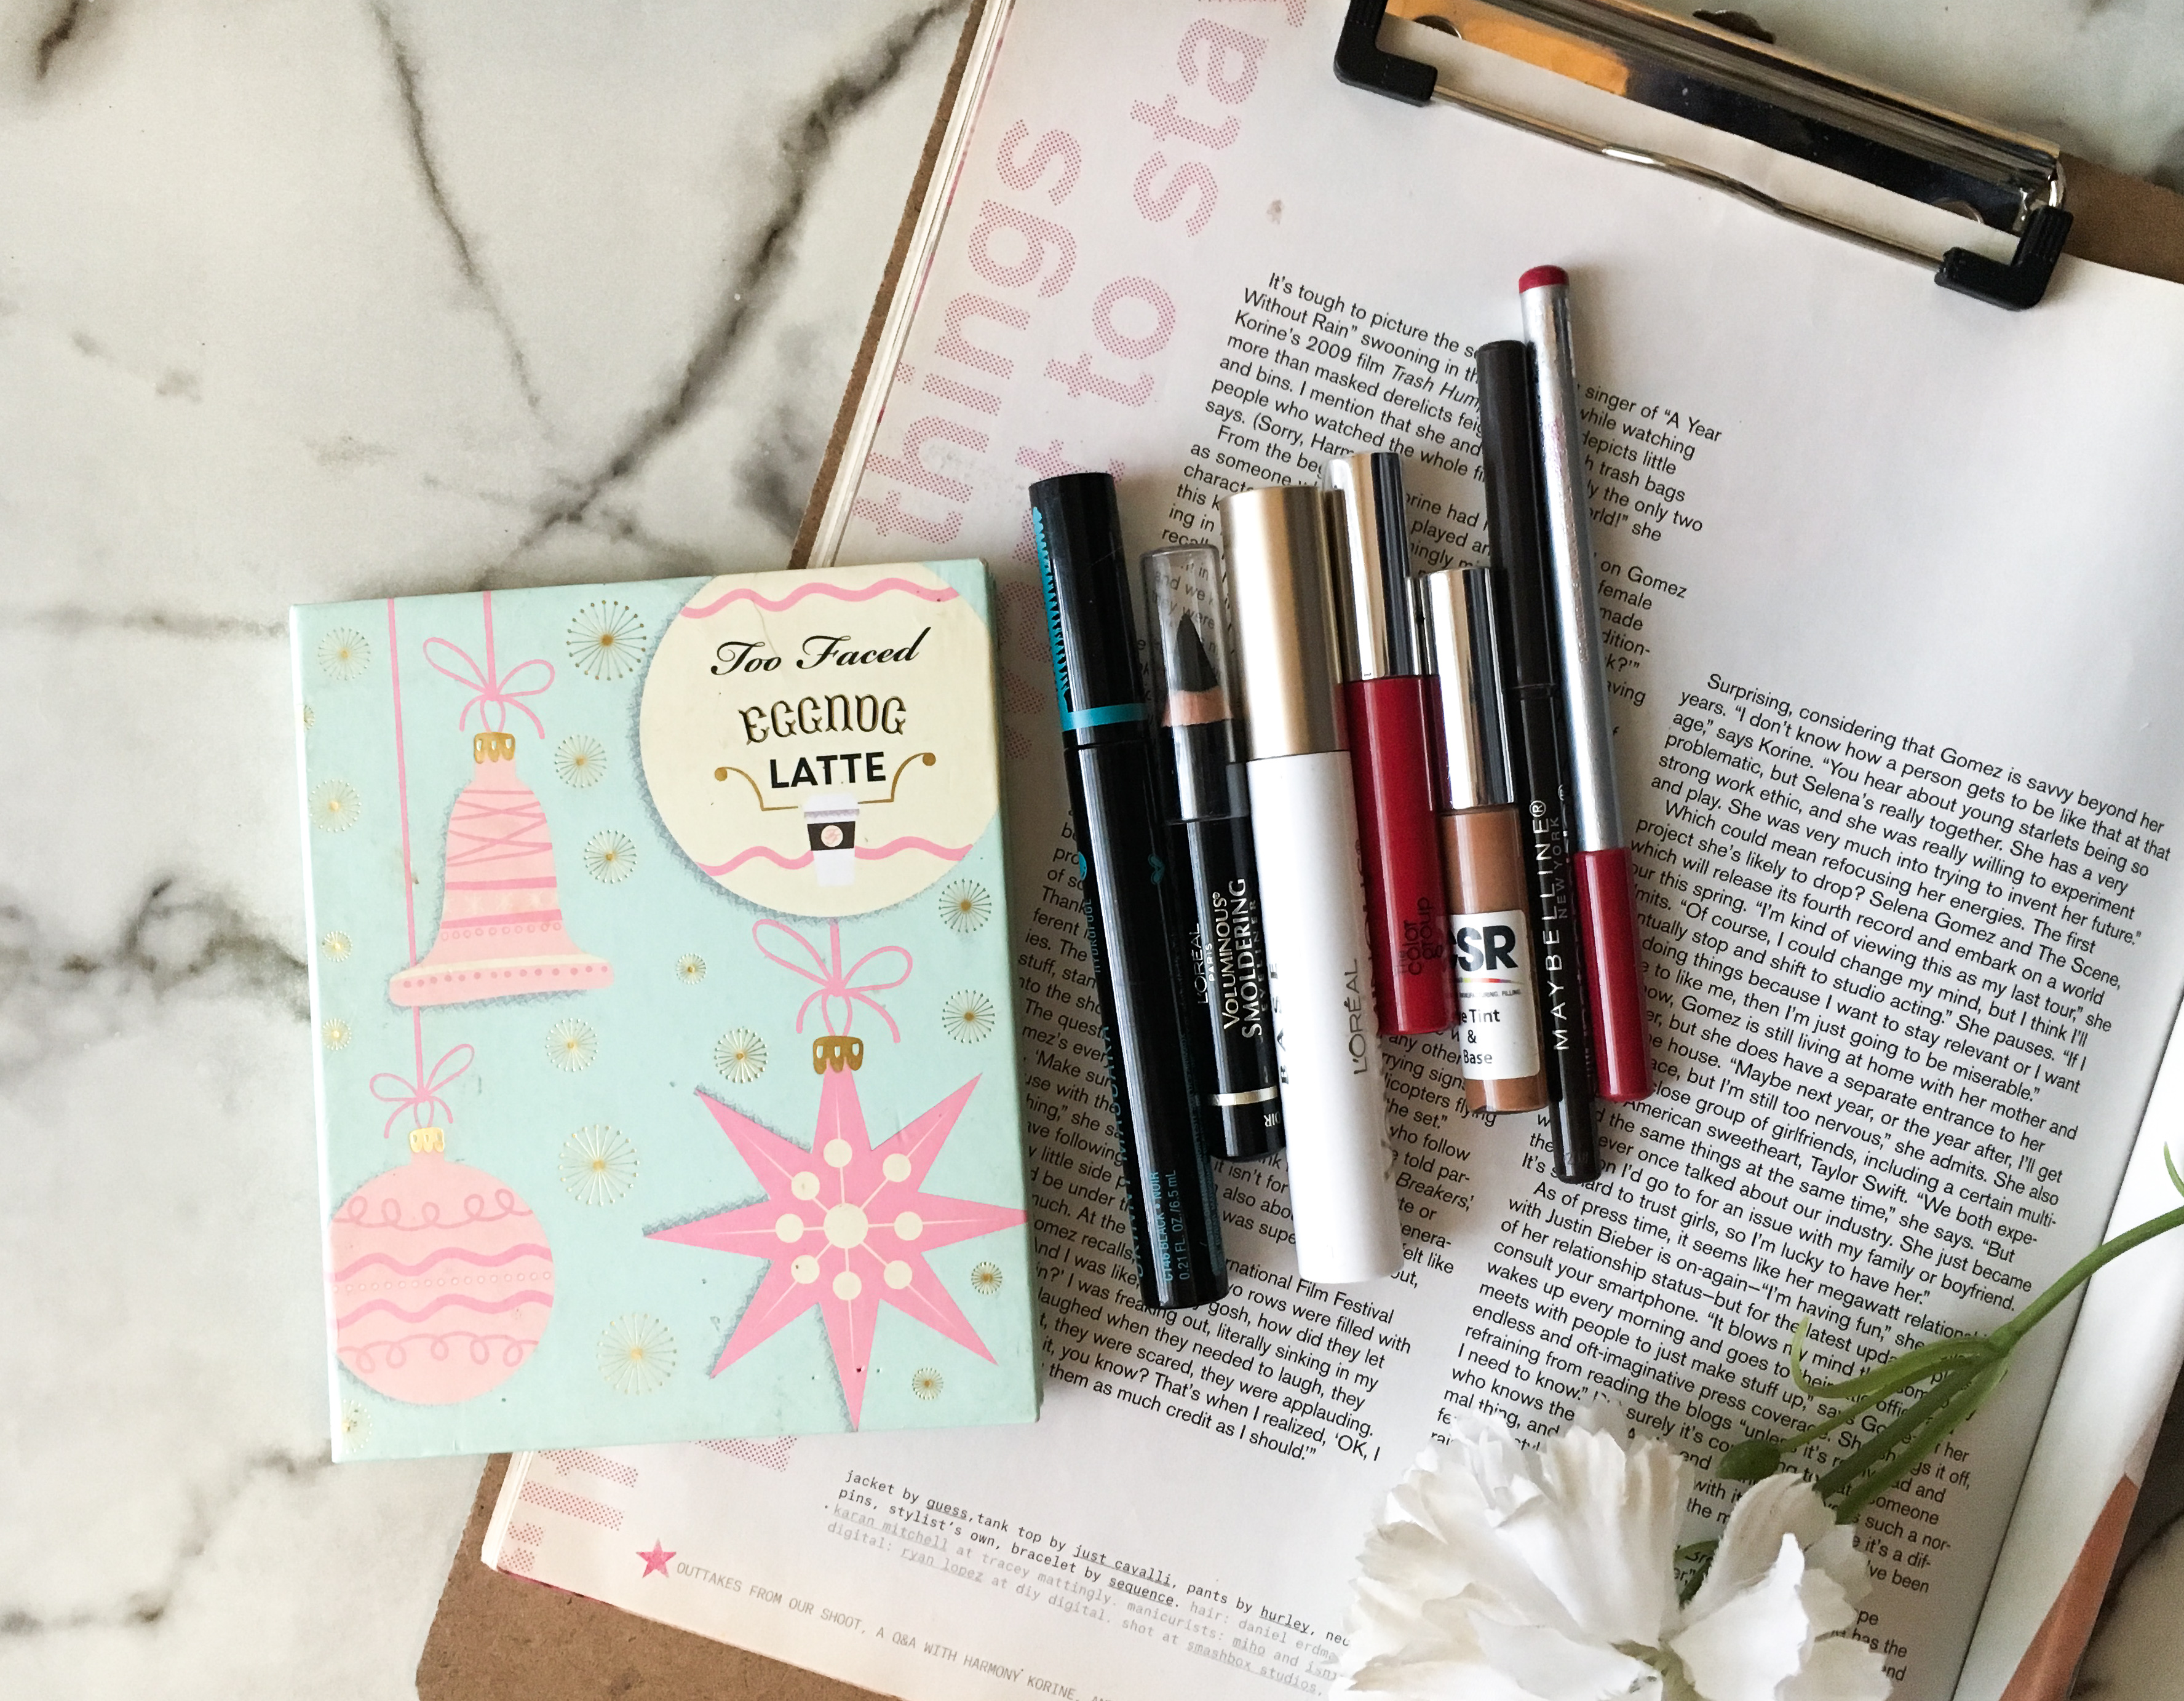
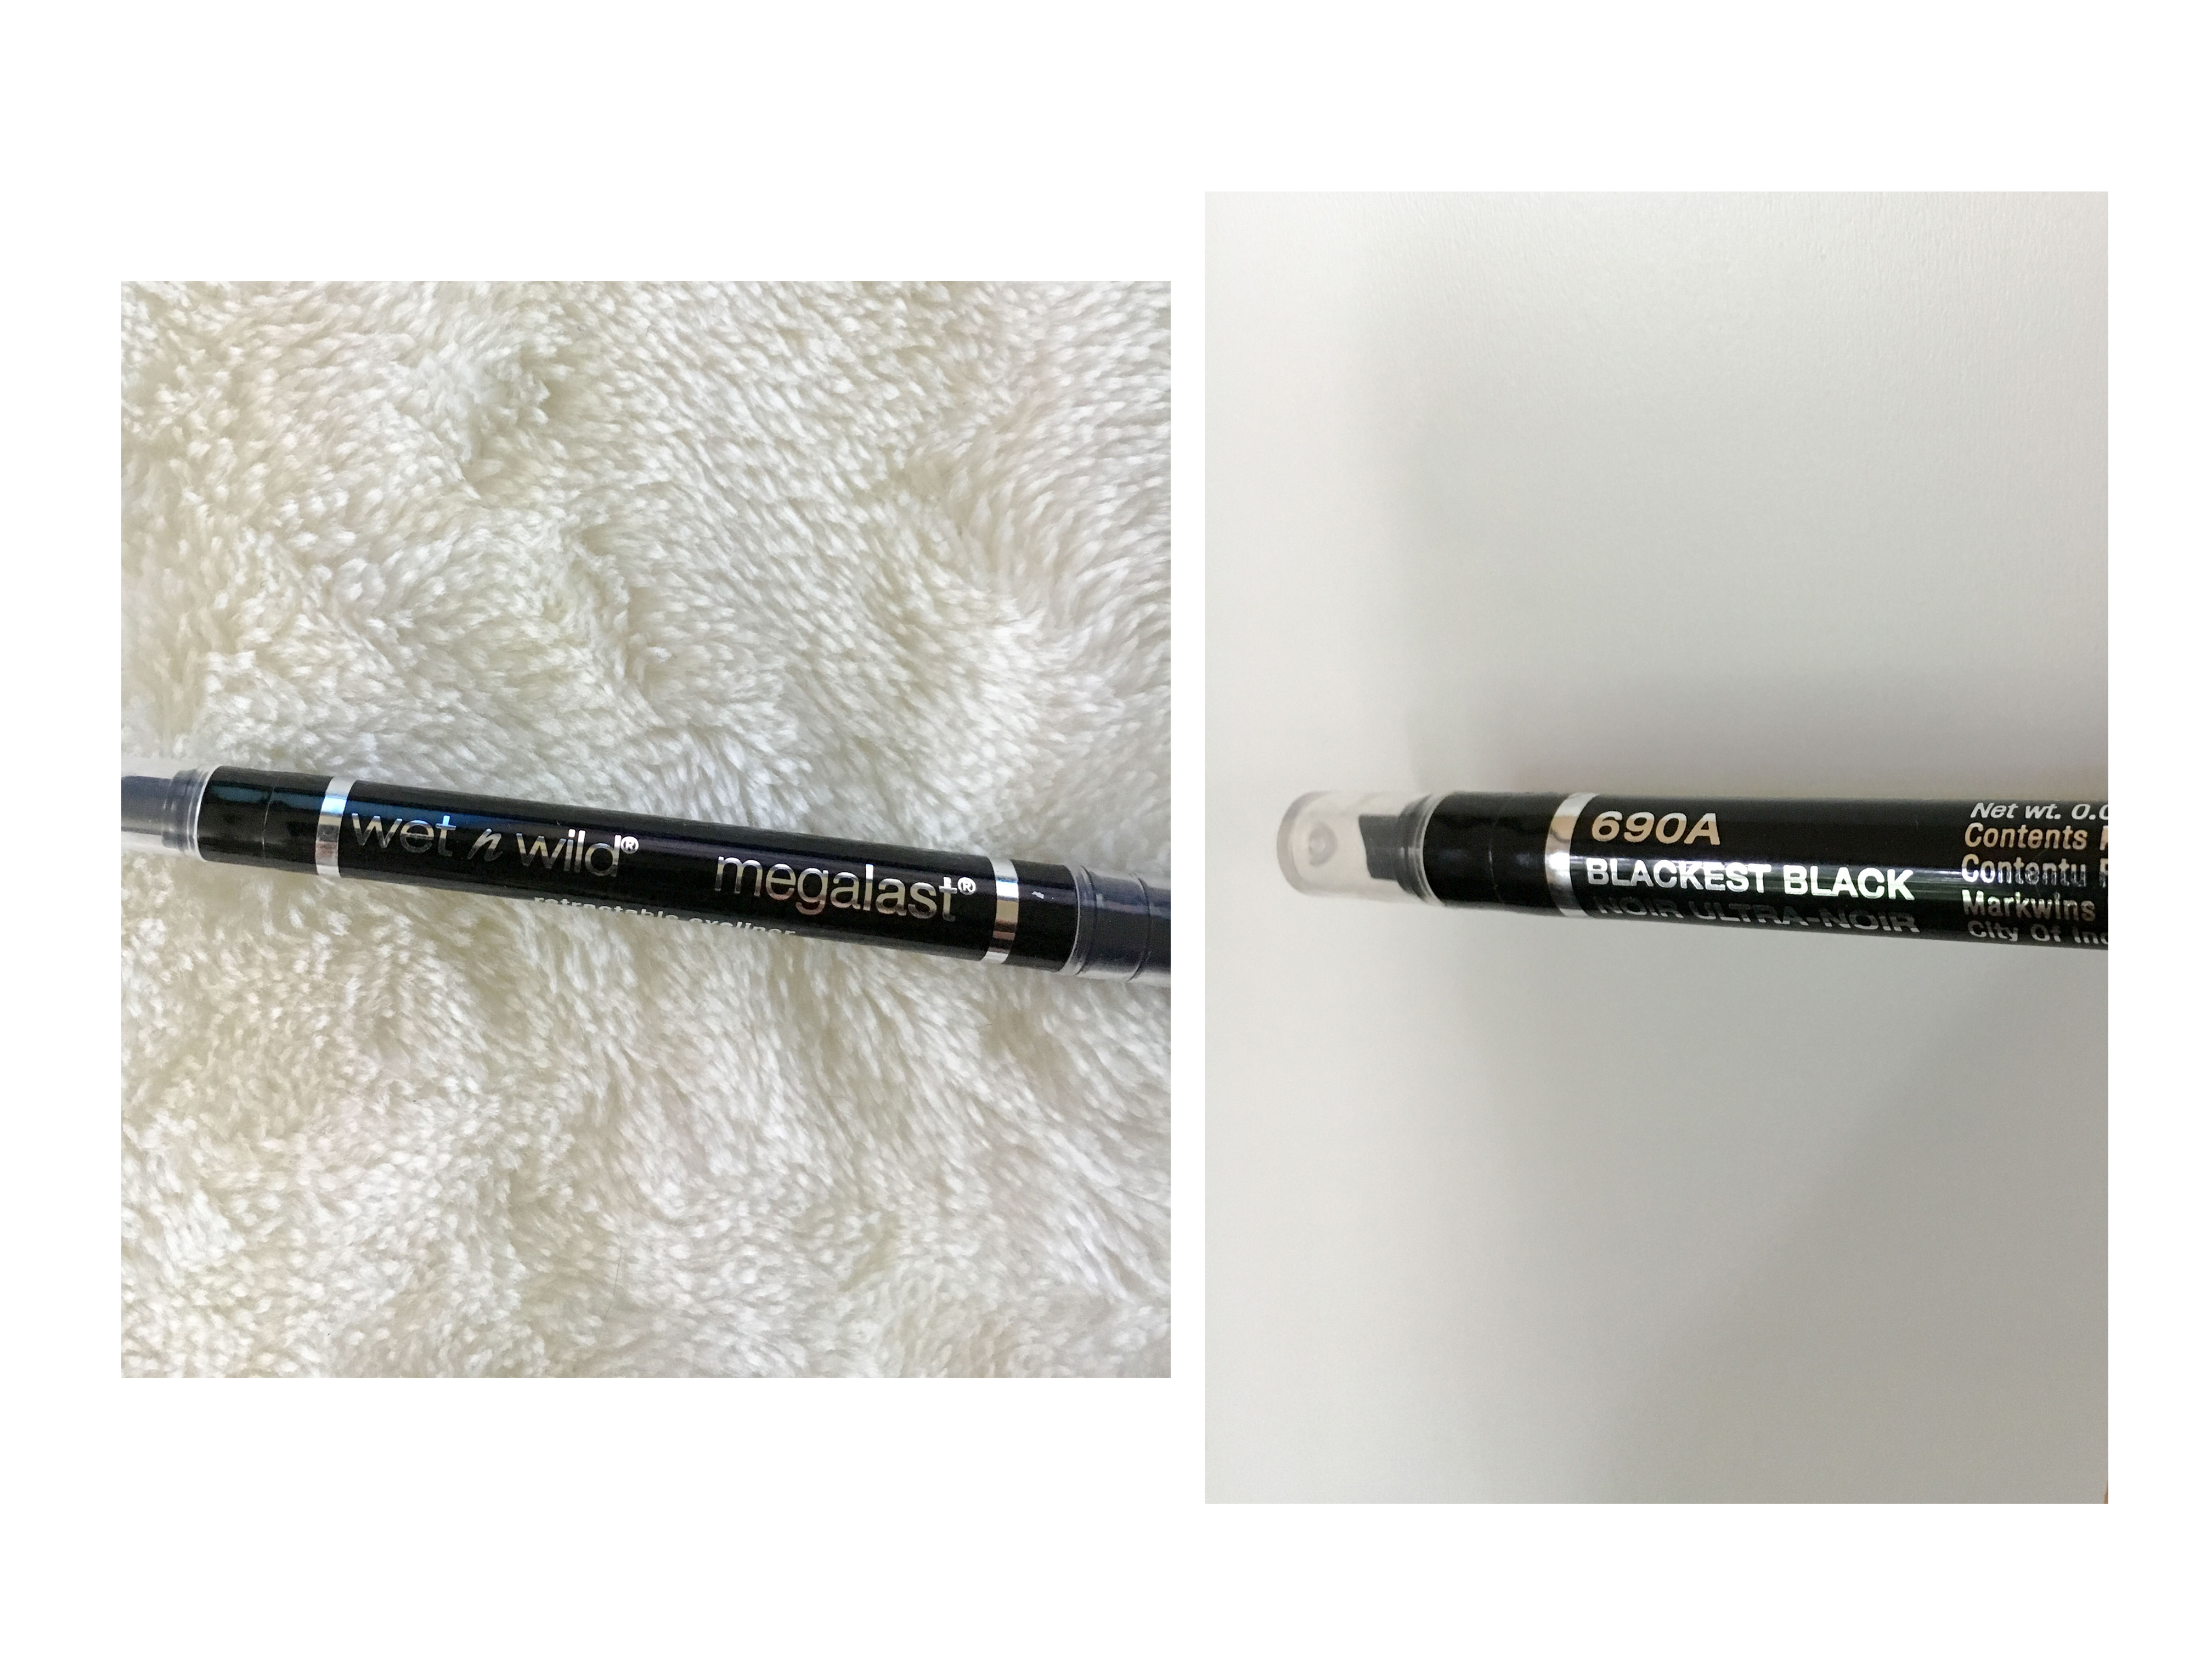
Step six: a lip liner to overline my lips and as a lipstick cause my lips can make a desert look moist and plump

IMG_5476

Voila mistro… not bad.

IMG_5486

and another selfie to reenforce how naturally untalented I’m with makeup and girl,  let me just say that if you know how to work your angles, no one will even notice lmfao!

Thanks so much for reading along and maybe even getting a little inspired by this faux easy makeup tutorial cause a girl tried her best! show some love on the comments and I hope you all have a blessed day.

Maybelline Browprecise Mirco Pencil Deep Brown x Product Review

Lately, I feel like my eyebrows have been disappearing. Like… Where are they going? Who do they think they are and why am I not invited? lmfao

Anyways, all jokes aside (as if those two sentences even qualified as jokes) my eyebrow game has been a struggle ever since my Anastasia Beverly Hills Brow Wiz retractable pencil ran out. I’ve been wanting to purchase a new one but being that I’m on a tight budget, splurging on a 21$ item is out of the picture… for now.

When I saw a Maybelline commercial (who says that anymore?) about the ‘new’ Maybelline Browprecise Mirco Pencil, I was curious to try it. Influenced enough to get up and get out of my apartment with my baby girl in tow, to my local Walgreens. Then there it was, hidden under a bunch of other similar looking Maybelline products packaged practically exactly the same from one another and I was completely… unimpressed.

The packaging was confusing because at first glance amongst the layers of cosmetic shelves in the drugstore, one would assume it was a simple brown eyeliner pencil. It really didn’t stand out very much from the other assortment of Maybelline products and sadly, I didn’t find another color other than Deep Brown or Brun Fonce (if you want to get fancy lol). The Browprecise Mirco Pencil is offered in other shades like Blonde, Soft Brown, and Auburn to compliment other complexions for 7.99$ but I was not finding it in my store. At the end of the day, what was leftover of the packaging and labels were thrown into the trash.

The pencil is a retractable, which is such a life and money saver because no one has time to sharpen makeup pencils these days after they become dull. Then if you apply even the slightest pressure, the tip might just go falling off because of the waxiness. The pencil tip features a 1.5mm micro ultra point that made it easy to create hair like strokes for natural looking brows! The formula didn’t feel too waxy because when I tried rubbing off a mistake with my finger, it took a few rubs to get it completely off. With a heavy hand, it can easily start looking more like a sharpie than a lovely brow pencil.

As soon as I finished applying light strokes through my eyebrows, I immediately noticed a difference in the fullness of my brows. This one step that was greatly missing before (referencing the picture below) really completed my overall makeup look of the day. I know, I sound like such a newbie, but for years I really didn’t know better. Although I heard it, I never applied it in real life during my makeup routines as often as I probably should have. What can I say, I’ve become a “woke” millennial lmfao.

I really loved using the new Maybelline Browprecise Mirco Pencil because it reminded me so much of the high end Anastasia Beverly Hills Brow Wiz retractable pencil but for much less! If your ever curious to try out something new or different, perhaps a natural brow for a casual day out or to do some grocery shopping, the Browprecise Micro Pencil might finish the job perfectly without spending precious minutes in front of your mirror.

brow

brow-3

brow-4

my face after realizing I have ghostly brows! lol

brow-6 copy

brow-2


Thank you so much for reading my post! Please let me know what your opinions are of the product in the comments below or if you have a personal go to favorite brow pencil! Until next time ❤️

Wet N Wild PhotoFocus x First Impressions Review

setting-3

Here was the agenda for the day…

Go to Manhattan to get drug tested for a new job
Go Northwest of Midtown for the DMV office
Go Southwest to visit campus to complete registration for this Fall
&& then to go back into Brooklyn to my parents house, to pick up my youngest autistic brother from the school bus…

ooh, my day wasn’t over just yet cause I needed to, then, go across town. To get back to my apartment and finally EAT!

Then once I got home, immediately start breastfeeding my babygirl cause engorgement is a mother f******.

All this had to be done in 80 degree weather, so I decided to wear some lightweight coverage because I wasn’t about to look like I just rolled out of bed…

My day was full of errands and just as I finished up the last touches of my coverage, I ended my routine with the Wet N Wild PhotoFocus Vaporisateur Setting Spray. I didn’t notice much of a scent, which is great because I hate having strong perfumes or smells around me (unless I actually put on perfume). The nozzle is not hard to push down and it doesn’t get stuck on itself as your fingers are pushing it down. From the many makeup Youtube videos I’ve seen, setting spray is key and should be one of the last steps to helping maintain all that effort you put to applying the makeup in the first place. This is a classic drugstore find and for the price point, you’ll likely find me hoarding this cause I’m a huge fan.

Throughout my agenda, I paid special attention to the overall appearance of my face which is more on the oily side and these are the things I noticed on my skin;

-my nose was not so oily even after power walking to catch the train with some of my nose contour still in place! I was really surprised by this little victory because my nose is usually the first thing that gets super oily.

-at noon, the temperature was at its highest and I started to get some sweat beads around my hairline but my eyebrows stayed the same as when I first left my house (hurray!) and

-by the time I got to my parents house, I felt super hot and humid. When I looked in the mirror, I was surprised to see that my skin still looked a bit airbrushed, except for my nose. The bit of oil on my skin looked a bit glowy also (as if I’d applied some highlighter) which was a very nice effect!

For the first time trying it out, I was really impressed by how long my coverage stayed on especially on such a challenging hot New York City day. To back up my experience and see how others felt once they put this to the test, I looked up a few Youtube videos to just see what others had experienced. Nathalie Marie Kay, a beauty Youtuber Creator, did an awesome comprehensive review of multiple drugstore and high end brand setting sprays. She felt that the Wet N Wild PhotoFocus was one of her top three choices (link of the video down below because its awesome) and she even compared it to the Urban Decay All Nighter Makeup Setting Spray.

Her review made me feel even more excited about this purchase because it was money well spend. Nothing gets me more disappointed then when something is overpriced and your not getting the quality that you expect for it. Especially to someone like me, who’s learning the effects of different products on my skin after pregnancy since my hormones have changed the texture of my skin.

setting-4

setting

setting-2

Thank you so much for checking out this review, I’ll try to post on a more consistent basis, but I get lazy and, honestly, sometimes uninspired. Thank you again and have a blessed day!

Link of Youtube Video: https://www.youtube.com/watch?v=FJa9uWdMaNI&t=1004s

Wet n Wild Mega Liner Glam Kat Eyes

#MOTD inspiration!

Yesterday, Americans all across the fifty states celebrated our independence day with a lot of bbq and fireworks. Its the unofficial, official start of summer, which is awesome!

But the heat and humidity makes it unbearable to put on a full face without it literally melting off your face. For the rest of the summer, my strategy is to emphasize the eyes while being subtle and light on my skin so it’ll have enough room to breath. One easy way to create glam look is a sexy cat eye. The first step to getting it done perfectly (even if you’ve got to try a few times) is by finding a pointy tip liquid eyeliner. It will revolutionize the way the wings are applied and wear throughout the day. My personal favorite drugstore liquid liner, that is amazing for your budget and overall quality is the Wet n Wild Megaliner. The Megaliner collection has a variety of liner tips and colors to create the looks your heart desires.

liner6

The rundown of products I used for my eyes…liner11

liner12liner2liner5

Using the same Wet n Wild Megaliner, you can create the inner corner wings which just emphasizes the shape of your eyes beautifully. Then I used the Mega Eyeliner Pencil to trace my water line because the pencil is not as bold and looks more natural. Lastly, I applied some mascara and then curled them with my a curler so my lashes will stay up for longer. The Maybelline The Colossal Volum’Express is nice… but its not always consistent. Sometimes the mascara comes out clumpy and other times its smooth.

liner9

These are the products I used for my face. As you can see, I just focused on covering my under circles and set it with the Maybelline FIT Me! Powder so it’ll keep my face matte. By keeping the skin smooth and simple, it’ll  make the eyes pop even more.

liner8

liner7

I found these blending sponges at my local bargain store. I enjoyed how they’re all in different shapes and blend smoothly.

liner10

The Neutrogena 3-in-1 Concealer has been my go-to for everything. I found that using a flat shader brush makes the littlest drop of the concealer go a long way, which helps me save on quantitylinerliner4

Thank you so much for checking out my post! I hope this look inspires you to try it out. Whats been your favorite liquid drugstore liner? Let me know in the comments below. Have a blessed day!

Airy Natural #MOTD

I’ve got the winter blues…

It’s this time of year again that the New York City whether becomes hella unpredictable and it seems like the season just drags. And drags and drags and drags. With such extreme inconsistencies, I loathe the thought of ever moving away because I do love this city but dame it does the desire creep up on me like a sudden lightning bult to a huracine. Since its a New Yorkers life, one grows to respect (love is long gone) the hustle and bustle.

Being that in other parts of the country, it’s already sunny and beautiful with the coolest breezes to calm the heat, I decided to dab my makeup into a plushy rosie cheek springy look for a au natural vibe than a vavaboomlicious makeup of the day. I’ll save the vavaoomliciousness looks for a later date but for now, I’m lethargic and so much work and artistry shouldn’t go towards the mundane grind.

Along with my bronzer and contour, I added a bit of blush along my temples to my cheekbone. The blush has a magenta/purpley  undertone and if I wasn’t careful, this could have looked like a major 70s disco look. The KISS Falsies has a lightness about each individual hairs that adds just enough volume and length for everyday use.

IMG_2016

These were the tools that I used to create the makeup look. The new item that I tried was the Covergirl truBlend Contour Palette and the blend ability is good except that a little does not go a long way. So to make it really visible, you’ll definitely have to keep on adding layers to make it really pop!

IMG_2019

IMG_2084

IMG_2252

3094

Facts && Hacks About Mascara!

Recently, I’ve been wondering if theres a method of picking the right mascara… I don’t believe I’m the only one who’s asked this question before but I’m curious to know if theres a true, straight forward answer to this important beauty question.

I’ve had this longing to learn about this topic for a few weeks and it sparked from a very recent disappointing purchase of one of my all time favorite classic mascaras. One I believed would never let me down when the going got tough but, sadly, the formula felt dry on my lashes. Then, about an hour later, I started to notice mascara flakes around my eyes.

I’ve always been very weary about purchasing items influenced by ads or marketing, simply because, I can’t determine if its just hype or the real thing. Our eyes are one of the most sensitive parts our outer skin, therefore I strongly believe that what ever we decide to place on them should feel like an investment into the greater good of the health of our eyes. Below I’ve listed a few mascara insights from varies sources, so here we go:

1. Familiarity

The best way to make a better or rather more informed purchase without running the risk of losing money is by becoming intimately acquainted with your lash type. Not all things work for every person and you can thank your DNA for that!

If your curious to know what might your lash type be, here are four of the most common lashes;mascara-lash-types

Follow the link below for specific tips about each of these lash types; http://www.eonline.com/news/632094/tricks-to-lengthen-short-sparse-or-straight-eyelash-types

2. Different wands for unique results!

a1fd6388337957ab881504397e1c46d2

  • Small wands are typically better for small eyelashes because the bristles can grab each lash with more control and touch up corners easily.
  • Long, comb like bristles that are evenly spaced are often used for separating, defining and lengthen lashes, but it doesn’t do much to add volume.
  • For maximum volume, many wands are large and round with densely packed bristles that grab and coat each lash.
  • If you want a more precise application, its best to use a wand with bristles that have different lengths so it’ll grab each lash individually.
  • Rubber wands with moderately spaced bristles are perfect for a more natural look!

3. Formula & Texture

According to Cindy Lin, Albea’s Director of Product Development, Beauty Solutions in NYC, mascara formulas haven’t changed much the past 50 years. They’re  basically a combination of;

  • Wax: which is best known for its volume, separating, and blackest black capabilities. Hard waxes — found in low-quality and expired mascaras — can stiffen your lashes and cause breakage.
  • Pigments: the most recent innovation was made in 2004 when the FDA approved a carbon-black pigment, which gives users the darkest, blackest lashes possible
  • Film Formers: film-forming agents are groups of chemicals that leave a pliable, cohesive and continuous covering over the hair or the skin when applied to their surface

ingredients

Most mascaras you’ll see in stores are oil-and-wax-based, which are the easiest to find because their the most traditional. “When it comes to formula claims, if you see “contains vitamin this, vitamin that,” argan oil, botanical extracts, etc., it’s usually just promotional and at low percentages—the bulk of the formula is still the basic wax-pigment combo,” says Cindy Lin.

4. Mastering Layers

Makeup artist often use the art of layering to make mascara last longer while also making it easier to remove at the end of the day. The trick is to use a waterproof mascara on top of your regular formula. You’ll first need to apply your normal mascara and then finish it with a single coat of a waterproof formula. The convenience of waterproof mascaras (besides the very obvious) is that it holds curled lashes beautifully and keeps mascara from smearing throughout the day. But because it’s so difficult to remove, another trick is to put on one coat of a regular mascara and then a clear coat afterwards so it’ll create the same long lasting effect!

5. Innovation is NOT easy

Launching  a breakthrough mascara formula isn’t easy. A beauty necessity like mascara can take years to produce because of the different channels of research & development, testing, FDA approvals, patents, etc. It’s actually easier and cheaper for companies to create a breakthrough brush and patent that, then creating a new breakthrough formula. The combined effort of three important components working together is what creates the magic: the brush, the wiper (this part is found at the tip of the tube and controls how much formula is left on the wand), and the formula.

When I jumped into the research, I was expecting to find a straight, cut throat answer with a bit of digging to validate the statements. All the articles I read answered one question but then it would lead me to another question. The conclusions a bit bitter sweet one because there’s no clear answer to towards buying decisions. Like mascaras, it’s a combination of what you’ll like and what would work best. It’s back to trial & error and just in time for the holiday season!

2a6d66a98f420ab79a2e203e44ca5e75

Thanks for reading along and I hope this article has helped you or given you some more insight. Let me know in the comments what your thoughts are of these facts or hacks of mascara! lol


references:
http://www.refinery29.com/eyelash-products-guide#slide
https://www.consumerhealthdigest.com/eyelash-care/lash-care-faqs/how-to-curl-stubbornly-straight-eyelashes.html
http://www.goodhousekeeping.com/beauty/makeup/a34064/mascara-tips-facts-history/
http://mentalfloss.com/article/68932/10-facts-about-mascara-help-you-lash-out
https://intothegloss.com/2013/09/best-mascara-2013-expert-tips/

Contour Palette & New Glasses!

Its been a while since my last blog post and I’m really not proud of that. But theres been a few changes in my life and the pivoting point was sometime towards the end of May. For example, I’m officially a college grad (after 4 stressful years, I thought I’d never see the day come).

IMG_9608

Most recently though, I got a new pair of glasses. I tried to familiarized myself with the types of frames that would suit my face shape before I stepped into the store. By the time I went into my local lenses store, I was so excited and overwhelmed by all the different options that I just attempted to try everything.. what can I say, I couldn’t help myself! red-glasses-

The ones shown in collage above are the new glasses. The frames are half red/magenta and half black.

Rectangular-glasses-

The ones in this collage are my old ones. Sometimes I would feel like an executive in these or a moody librarian… it just depended on the day lol.

#MOTD

So in honor of the new frames, I decided to also experiment with my everyday makeup. A makeup look that would be bold enough to pop! For the main focus, I contoured my face using the Wet n Wild Contouring Palette in Dulce De Leche (which soooooo happens to be done of my favorite deserts). As I was applying the contour and highlighter, I was very impressed by how easily I could blend the shades. Yet I wasn’t thrilled at how light the contour appeared on my face especially if your aim is to add drama using it!

456667f8-889e-4d6c-9e66-cd1087c1aeed_1.4df8b262d13e01955a1b1cbb5db82785

A dramatic wing, a few racing stripes and a small dot…


I enjoyed using the Contour Palette by Wet n Wild, it was a fun way to discover my angles and what works vs. what didn’t. Would I repurchase the kit again? Probably not.

IMG_9622

Thank you so much for reading along and checking out the post! Please let me know what you think of the glasses and if you enjoyed this post. Have a blessed day ✌️


Metallic Green Liner #MOTD

IMG_9037

IMG_9108

greenliner5

greenliner3

greenliner2

IMG_9093

IMG_9095

greenliner9

greenliner12

greenliner6

greenliner1

greenliner

greenliner11

greenliner10

greenliner8

IMG_9088

Foundation:

I started with a clean face and then used the Aveeno Daily Moisturizer to give my skin some life. My favorite part of the moisturizer is the scent because its refreshing and airy yet it helps with the prevention of breakouts! Then I continued with my color correction and concealer to smooth out uneven tones. For the first time, I also played with the NYC Bronze Face Powder that my mother often uses. I was pleasantly surprised to see how much of a difference it made as a last touch to the foundation routine. It adds a bit of color to my complexion especially right after I finish applying concealer & foundation.

Lips:

Just a tab of tinted moisturizer and they were done 👍

Eyes:

The toughest part was getting the new eyelashes to get the shape of my eyes. Whenever you get a pair of faux lashes, the first thing before you wear them out is to break them in.. literally. It also helps to have a strong lash adhesive. Sadly, the one I’m currently using, the Revlon Precision Adhesive, works to a certain extent. I tend to apply the adhesive and then leave it for a few seconds to dry a little so it’ll become a bit sticky but what kept on happening was that the adhesive would dry almost immediately on the corners. When that’ll happen , it would take an extra 15 minutes longer just to make sure that the corners stayed put. So I’ll definitely be in the market for a new adhesive soon!

For the eyeshadows, I kept it very stubble & nude using the different shades shown in the Cast A Spell Beauty Book. For the next look, I’d probably add more eye shadow so it’ll be more noticeable.

The light green was the main touch. The light green liners from Milani Cosmetics and although it was a bit dry as I was reused it, the metallic color was still vibrant! I didnt have the heart to just throw it away cause I’d rather have it and not need it, then need it and not have it.

Anyways, I sincerely hope you enjoyed this look. Leave a comment to let me know how you would have used the green eyeliner differently and have a blessed day!